New Furniture or Renovation Ahead? Test Those Floor Plans First
You know what no one tells you before a new-furniture purchase, home renovation, or even a new build?
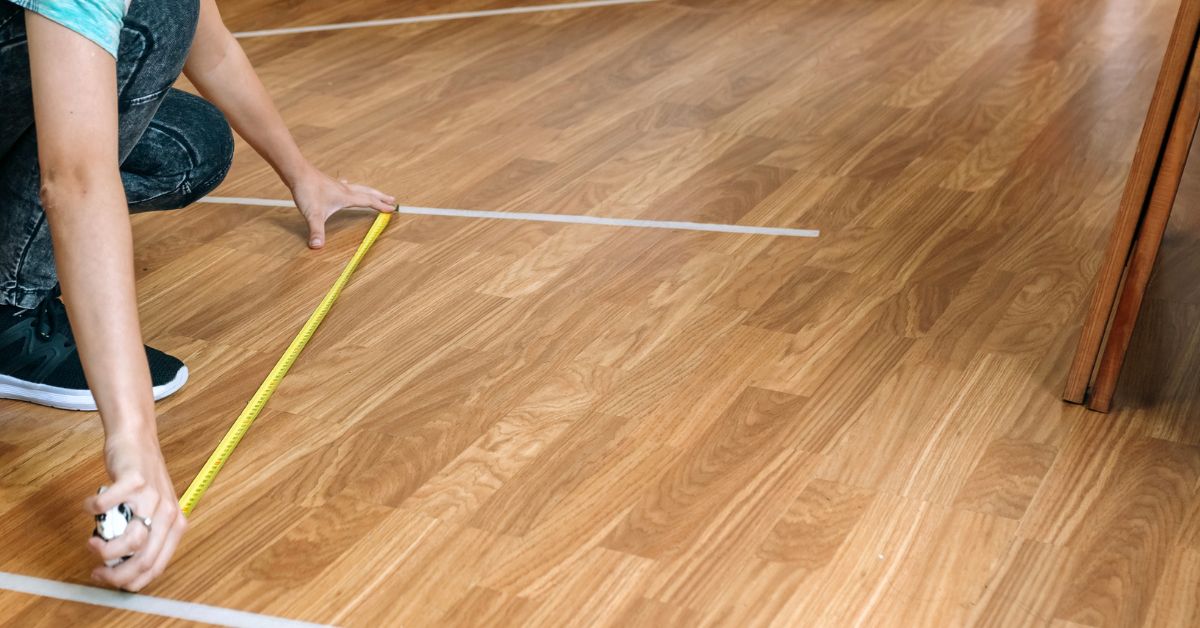
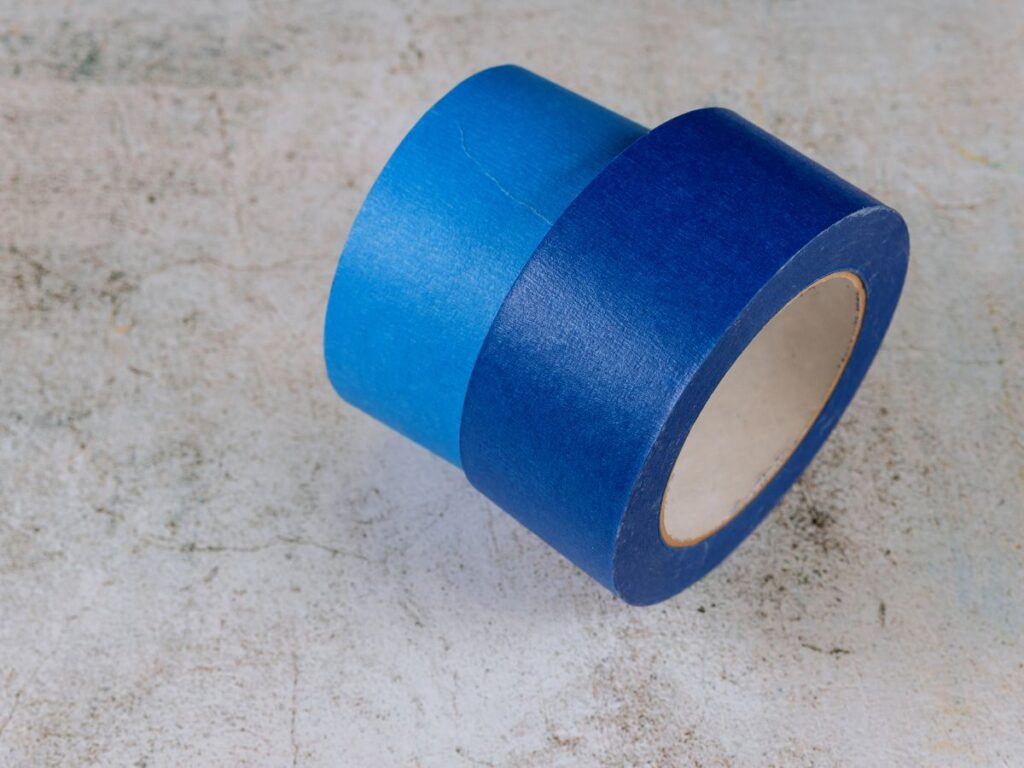
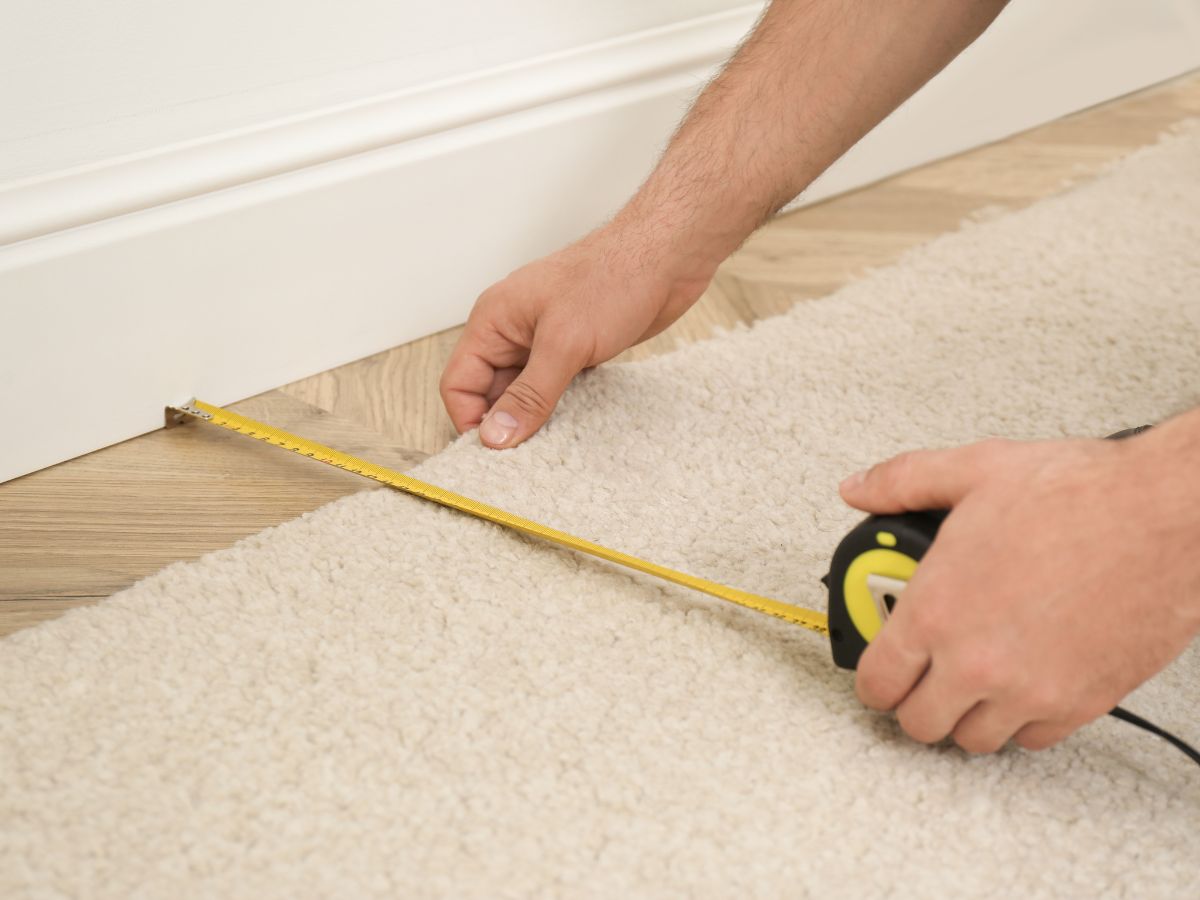
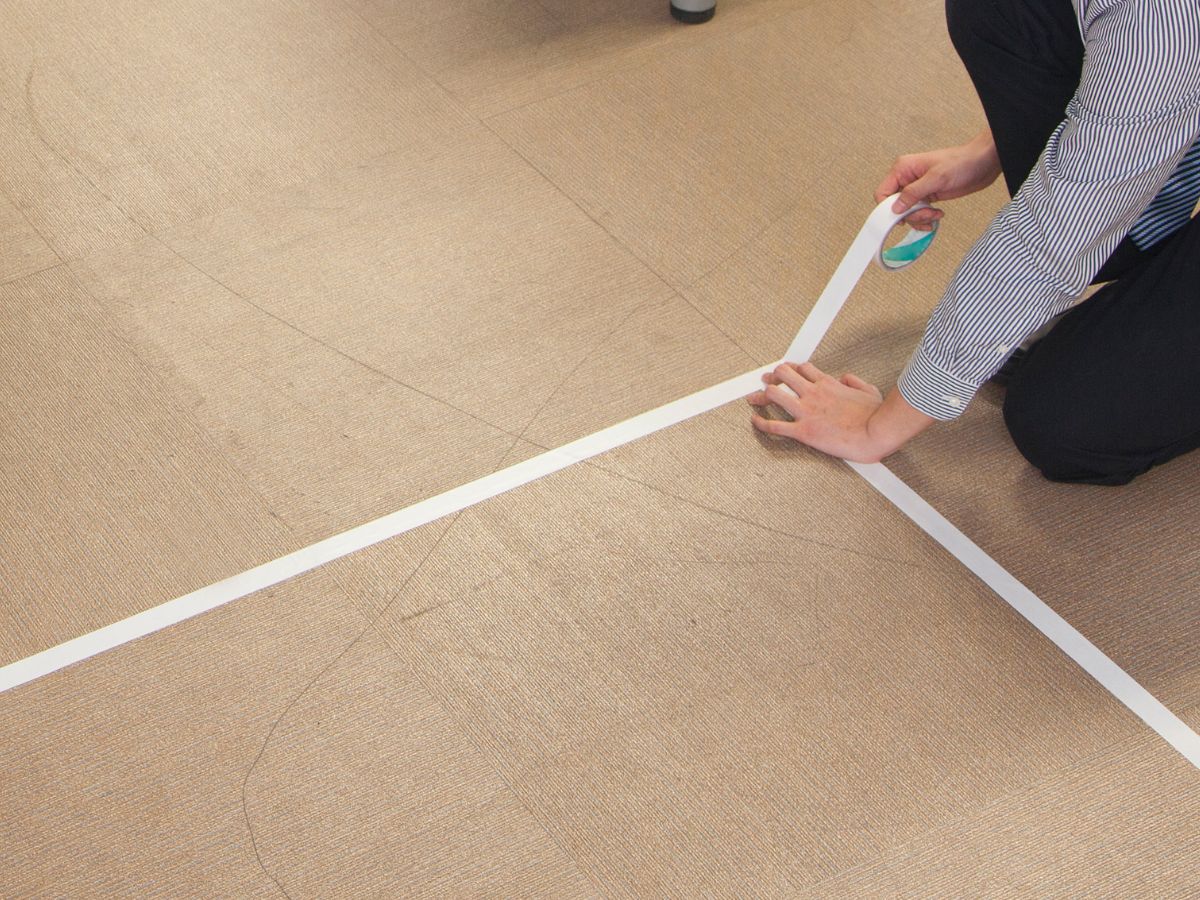
Grab the painter’s tape (or masking tape—whatever you have handy).
Yep—before you order that gorgeous sectional or finalize your kitchen layout, MARK. IT. OUT. on your floors. Every inch of it.
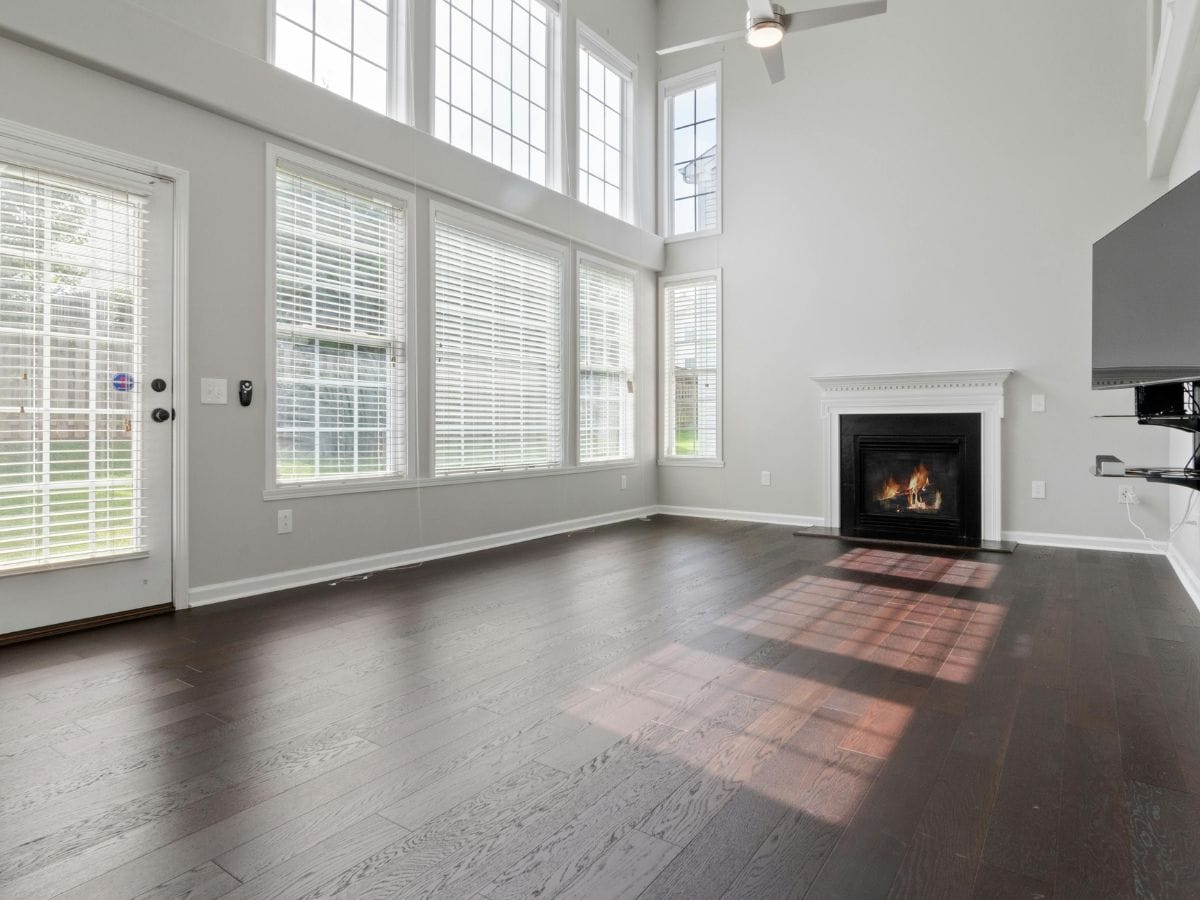
I learned this the hard way. Years ago, we bought a giant brown furniture set for our living room. We sat on it in the store, loved it, and figured we could make it work. What we didn’t do was actually map out the footprint of the pieces in our space.
When it arrived? One massive piece after another kept coming through the door. Our living room was officially overstuffed. Think Goldilocks and the Three Bears… but nobody got the “just right” version. And it was too late to undo.

Before You Buy Furniture or Rugs…
Mark out the size of that new piece with painter’s tape on your floor.
– Want a new sectional? Tape it out to scale and see how it fits—make sure there’s enough room to walk around it and that it plays nicely with nearby pieces.
– Considering a bigger rug? Mark the edges of the rug with tape to see how it lands with your furniture. Does it extend far enough under the sofa or bed? Are your chairs fully on it—or awkwardly half-on, half-off?
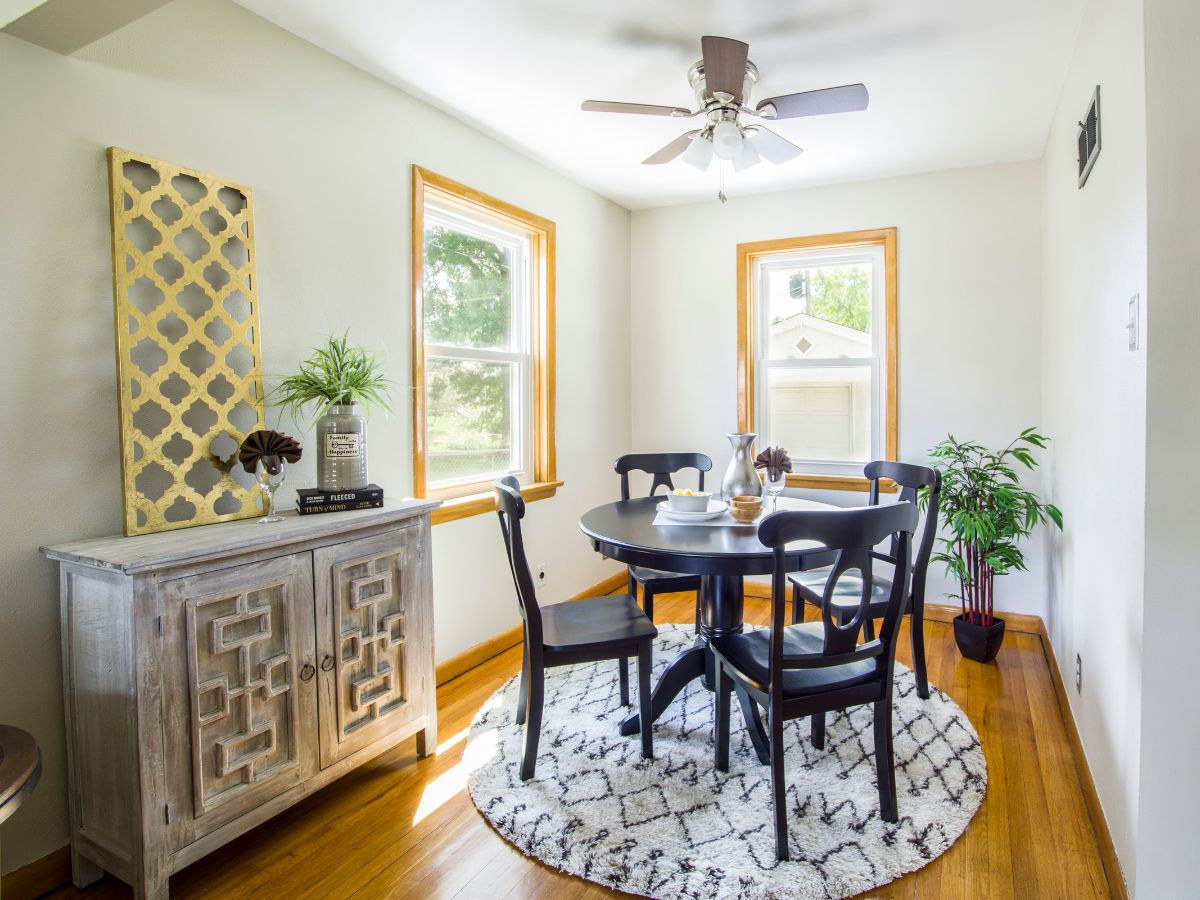
In a dining area, tape out the rug and your table and chairs. Then pull the chairs out as if someone’s sitting in them. Can they move easily without catching the rug’s edge? More importantly—can someone still walk behind the chair when it’s pulled out? That’s the real test for flow and comfort.
You can even drop sticky notes where furniture legs would land to help you visualize how everything will sit together—before you commit to that 9×12 or 8×10 in your cart.
– Trying to seat more guests? Make sure there’s enough walk space between pieces and that the layout feels open, not cramped—even when chairs are in use.
It takes five minutes and saves so much second-guessing (and backaches from returns).
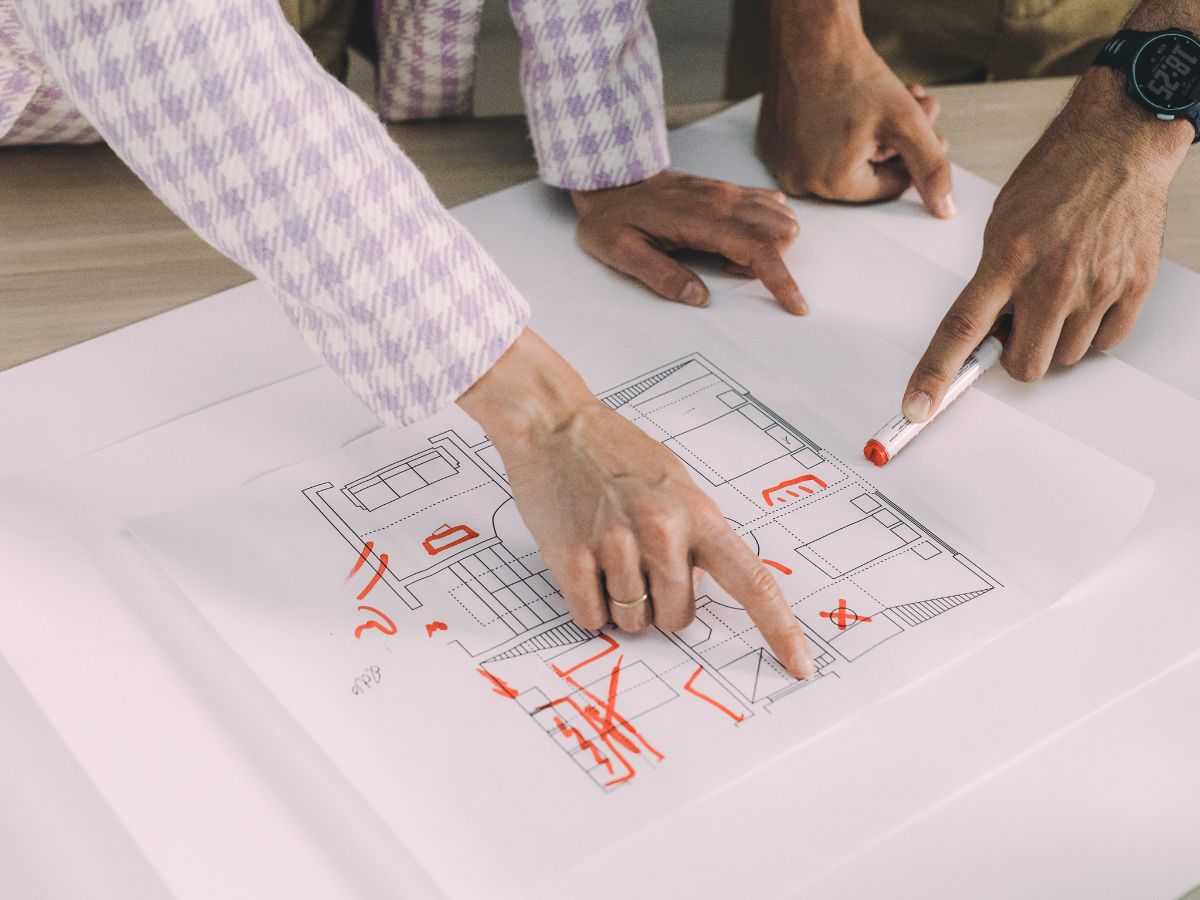
It’s not just for sofas and rugs—this same painter’s tape trick is a game-changer when you’re mapping out new build or home renovation plans. Before finalizing anything, tape out the footprint of your design and walk through it like you already live there.

Before You Finalize Renovation Floor Plans…
Painter’s tape is your secret weapon here, too—especially when the decisions are permanent (and pricey to fix).
It helps you spot tight corners, awkward walkways, and appliance doors that don’t quite clear. This quick, low-tech step can save you from some seriously high-cost regrets.
It’s a lifesaver during a renovation—but just as essential if you’re planning a new build. You don’t want to move in only to realize your dream island blocks every walkway or that your bathroom door smacks into the vanity. Taping it out ahead of time helps you spot those little snags before they become big regrets you may not be able to fix!
Let’s look at a few areas to mark out:
Kitchen Layouts
Tape out cabinets, islands, and dining areas—don’t just rely on the blueprint. Can you open the fridge comfortably without bumping into anything? How about the dishwasher door or oven? Tape the swing of each to see how it all functions together.
And if you’re adding a dining table or island seating, pull chairs out to simulate someone sitting. Is there enough room to scoot the chair back and still walk behind it? These are the little spacing decisions that make or break a kitchen’s flow.
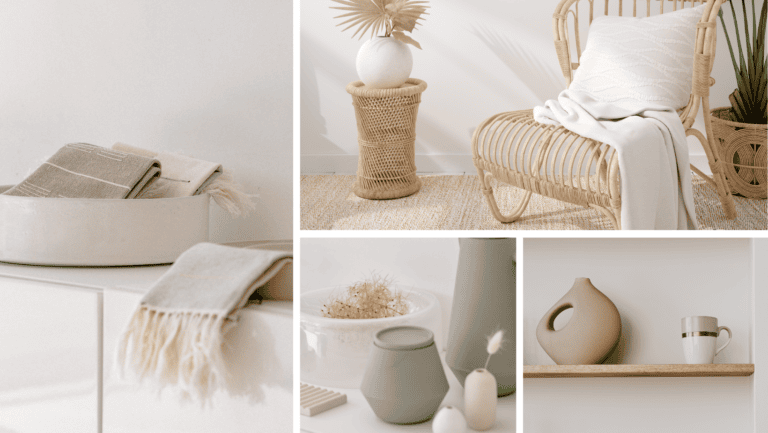
Love this idea? Keep it handy.
Bathroom Updates
Mark out vanities, tubs, and shower walls to make sure your spacing works in real life—not just on paper.
Pay attention to where you’ll stand when opening drawers or getting ready at the sink. That extra six inches of clearance in front of a vanity or next to the toilet can make the space feel functional instead of cramped.
Mock-Up of Big Features
When we were redoing our kitchen, we even broke down cardboard boxes to build a mock island. It looked silly, but it helped us live with the layout for a few days and fine-tune the spacing.
We ended up adjusting the size just enough to make everything feel better. Don’t be afraid to walk around your taped layout for a day or two—you’ll quickly notice pinch points or awkward traffic flow.
And here’s something that surprised us—our breakfast nook needed a custom-sized table to make the layout actually work. The space was tight, and we couldn’t just grab a ready-made option from a store.
We had a door nearby that leads to our backyard, and it would’ve been so easy to block the path without realizing it. So we marked it all out with painter’s tape—table, chairs, and walkways—and quickly realized a standard size wouldn’t cut it.
We ended up having a table custom-built to fit that specific footprint. By taping it out first, we made sure we had the right clearance and found dimensions that allowed us to move around comfortably—even when the chairs were pulled out.
Want to see how it turned out? Peek at the full project in my Coastal Breakfast Nook Makeover—it’s proof that a little painter’s tape and planning can lead to a space that’s both beautiful and functional.
That taped-out mockup saved us from a daily bottleneck and a big regret.

Bonus Tips to Level This Up
✔ Snap a photo once you’ve taped it out.
Take a pic from a few angles. It’ll help you remember the spacing and give you something to reference when you’re shopping or second-guessing measurements later. You can even draw right on the image with your phone’s markup tool to plan finishes or label pieces.
✔ Use painter’s tape + sticky notes together.
Write on sticky notes to label each area—like ‘sofa‘, ‘side table,’ ‘42×42 table,‘ etc. It helps you (and anyone else helping make decisions) visualize the whole plan without having to remember what each square of tape is supposed to be.
✔ Try living with it for a day or two.
Don’t just mark it out and decide in five minutes—especially for reno layouts. Live with the setup while walking through daily routines. You might notice tight corners or awkward flow once you move around the space more naturally.
✔ Don’t forget door swings!
Make sure you’re factoring in space for doors to open (especially exterior doors or appliances like dishwashers or ovens.)

✔ Bonus if you’re planning furniture layout, new build, or renovation
Apps like Room Planner, Planner 5D, or Magicplan are great for mapping things out digitally. But nothing beats the real-life reality check of walking the space with painter’s tape on the floor. The magic is in using both.
Not sure what layout to try first? Just grab the tape and start marking it out—you’ll be surprised how much clarity shows up once you start seeing it.
Even if you’re still in the blueprint stage of a new build, taping it out in your current space (or garage!) can help you better picture how your future floor plan will function day-to-day.

You’ve Mapped the Plan—Here’s What Comes Next
You already took the smartest first step—testing your layout before committing. That alone puts you ahead of most homeowners. 👏
Next up? Less second-guessing, more “yep, that works.”
Start by tackling your finishes.
When you’re staring at tile, countertop, and cabinet samples that all start to blur together, use the free Interior Finish Starter Kit to compare them side by side and see what actually works. (No more standing in front of 47 tile samples second-guessing everything. Your future self will thank you.)
→ Grab it here.
Then keep the progress going with the Building or Renovating a House Checklist—it’s a simple system of 9 steps that helps you organize every flooring, cabinetry, and paint choice so your home feels intentional from day one.
→ Get the 9 steps.
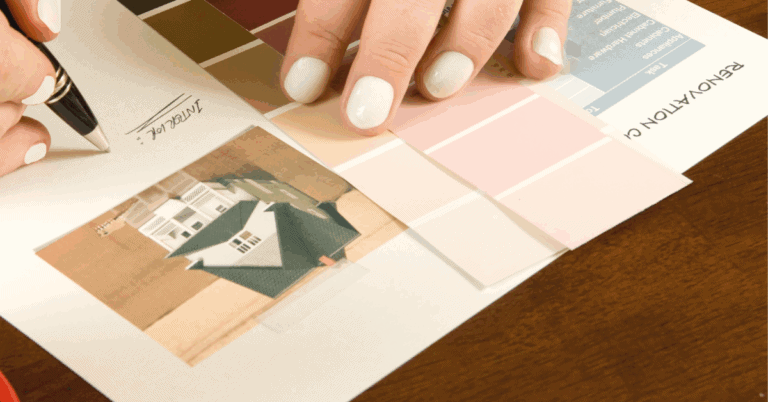
And when you’re ready to pull it all together, the Best Paint Color Guide shows you how to choose shades that flow with your materials and lighting—so every detail works in harmony.
→ See how.