The Perfect Bars Recipe: Quick & Easy 4-Ingredient Cookie Bars
Get ready to indulge in the ultimate treat with our perfect bars recipe – effortlessly delicious and sure to impress. Consider it your new go-to, using ingredients you have on hand. You’re welcome.😉

At Flairfully Yours, we’re all about adding a touch of flair to your everyday life: simplifying the complex, finding joy in the little things, and making every moment a bit more fabulous. That’s why I’m thrilled to share my first-ever recipe post, featuring the Perfect Cookie Bars Recipe.
These 4-ingredient Cookie Bars are not only a mouthwatering sweet treat, but they’re also the essence of what we stand for: simplicity, practicality, and versatility to make life easier and more enjoyable for busy women like you.
The Perfect Bars Recipe: My Childhood Cookie Bars
The charming simplicity of these bars make them ideal for any (and every) occasion. Whether it’s a cozy night in, a potluck with friends, a quick snack on the go, or a treat for your kids to share with their team, these 4-ingredient cookie bars are your new BFF. So, let’s whip up some magic together!
This recipe is a nostalgic throwback to my childhood. In fact, it’s one of the typed (as in typewriter style!) recipe cards from the recipe box my mom made for me when I got married.

I distinctly remember the first time I made it for my own family. It was a spur-of-the-moment decision, prompted by the fact that it was the only recipe I had the ingredients for. Lo and behold, my husband and two boys all but licked the pan clean as soon as they sampled their first taste! It’s since become an absolute staple in my own household – my go-to homemade sweet treat.
Convenient Baking Made Easy
Convenience is key when it comes to these bars. This perfect bars recipe uses only four common ingredients that are likely staples in your pantry, making it ideal for impromptu entertaining or an everyday treat. It’s the ultimate solution for those last-minute requests like “I need to bring treats to practice tomorrow” from your kids at 8pm the night before.
Quick Fix: Just 4 Ingredients Away from Deliciousness!
You can probably whip these up right now as you read this. I mean, it’s just 4 ingredients. 4! And they’re all things you always have on hand: flour, brown sugar, butter, and chocolate chips. No eggs required!

Making the dough is as simple as it gets. Preheat your oven to 350 degrees. Melt a cup of butter in a medium microwave-safe bowl, then stir in one cup of brown sugar until smooth. Gently mix in one cup of flour until just combined.

Spread the dough into a 13”x9” pan using your hands. It might seem like there’s not enough dough to cover the bottom of the pan, but trust me, it ends up evenly covering the bottom. I recommend using a pan no larger than 9”x13” to avoid thin bars. If you prefer thicker bars, opt for a smaller pan. I find the Pampered Chef Medium Stone Bar Pan to be a perfect match for this recipe.

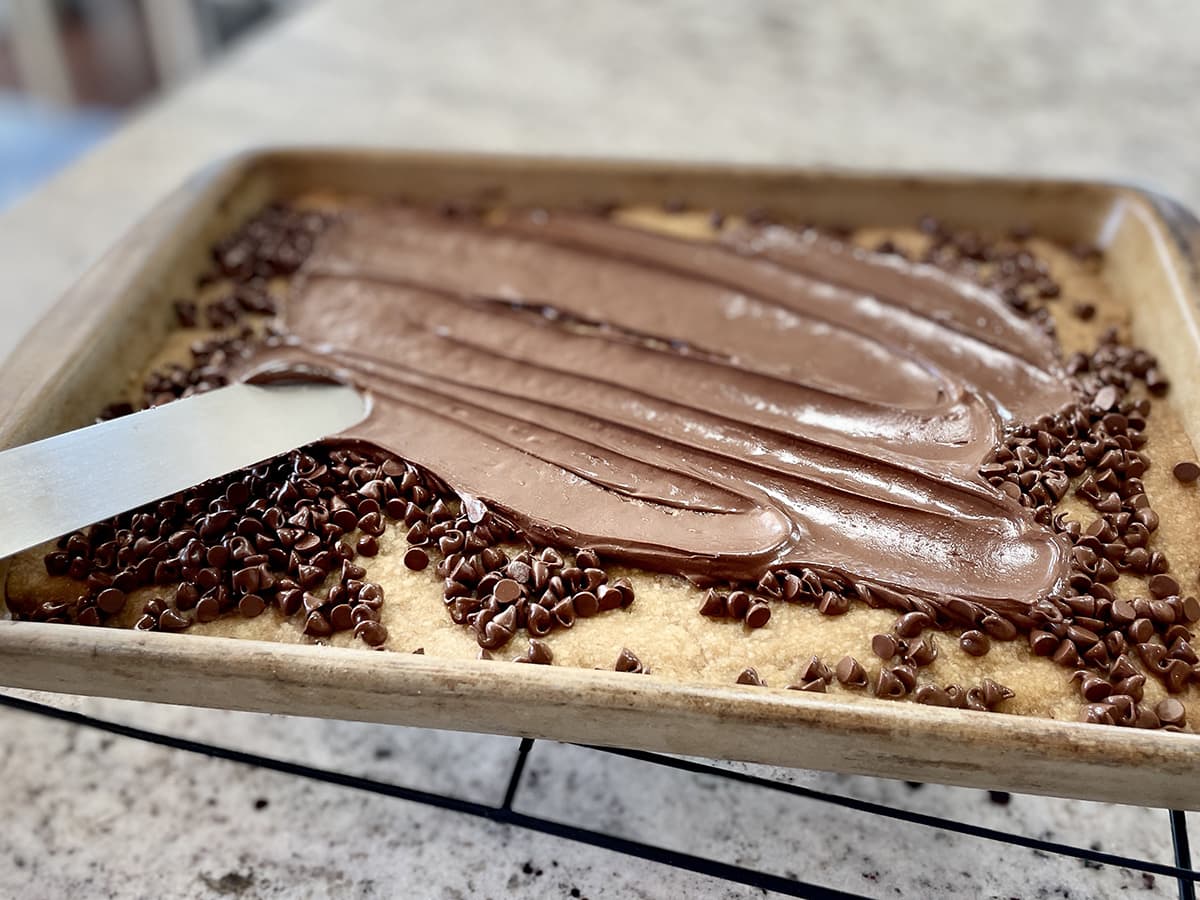
Bake in the preheated oven for 18-20 minutes. Be careful not to overbake. After removing the bars from the oven, sprinkle one cup of chocolate chips evenly over the bars.

Place another baking sheet (upside down) over the pan for a few minutes to allow the chocolate chips to melt to spreading consistency. Easy peasy!


Quick Tips for the Perfect Bars Recipe
Love this idea? Keep it handy.
- While I prefer semi-sweet chocolate chips, feel free to use your choice of milk or semi-sweet chocolate chips.
- If you’re short on time, opt for mini semi-sweet chocolate chips as they melt a bit quicker than the regular ones.
- Refrigerate the bars once the chocolate is spread, just long enough to allow it to set before cutting or serving.
- Alternative Option: If you’re like one of my boys, who has a preference for less chocolate, skip the chocolate layer on top. Instead, melt chocolate chips and drizzle the melted chocolate over the bars for just a hint of chocolate in every bite.


Make It Yours: Get Creative with Toppings
Technically, the bars are complete once the chocolate layer is spread.
But why stop there?

Here’s where the fun begins! Before placing the bars in the fridge to set, sprinkle your favorite toppings over the melted chocolate to add your own unique flair.


Let your creativity run wild with toppings to customize the bars for any occasion, based on what’s in your pantry, or simply to satisfy your cravings of the day!
Customize your toppings to suit special occasions, holidays, or game nights! Add colorful sprinkles for a festive touch at birthdays or holidays. Sprinkle mini M&Ms or crushed pretzels for a playful twist at game nights.
Infuse springtime vibes into your bars with pastel-colored sprinkles or edible flowers. For a cozy winter gathering, enhance the seasonal feel with crushed peppermint candies or toasted nuts.
Topping ideas:
- Mini M&Ms (regular work too – whole or chopped)
- Chopped Nuts
- Chopped up candy bars: Reeses Cups, Heath Bars (toffee), Butterfinger, Snickers, Twix
- Reeses Pieces
- Sprinkles
- Mini marshmallows
- Edible Cookie Dough
- Drizzled White Chocolate
- Melted Caramel
- Shredded Coconut
- Crushed Graham Crackers
- Dried Fruit (such as cranberries or raisins)
- Crushed Pretzels
- Crushed Oreos
- Crushed Potato Chips (for a sweet and salty twist)
Ta-da! These bars can effortlessly add a touch of homemade charm into any occasion! They’re the ultimate go-to for busy schedules or last-minute gatherings.
Host Like a Pro with These Simple Tips
At Flairfully Yours, we’re all about making things look good, even when it comes to serving food. Here are two tips to take your bar presentation to the next level:
- Cut them small! Opt for bite-sized portions – think half the size of a typical bar square. For an extra touch of fun, try cutting them into triangles or mini squares. How adorable!
- Put them on a cute plate. Avoid leaving bars in the baking pan when serving them for an occasion or bringing them as a dish to pass. Instead, transfer them to a fun plate or a snazzy tray.

Remember, the eye buys! When it comes to food, we’re naturally drawn to easy-to-grab, bite-sized portions neatly arranged on a platter. This simple presentation trick instantly elevates even the most basic bars (ahem, these!) to a whole new level.
Now that you’ve got the hang of whipping up these delectable bars, it’s time to let your creativity shine! I can’t wait to see how you put your own spin on them. Don’t forget to share your creations with me — I love seeing how you make these recipes your own!
Entertain with Flair
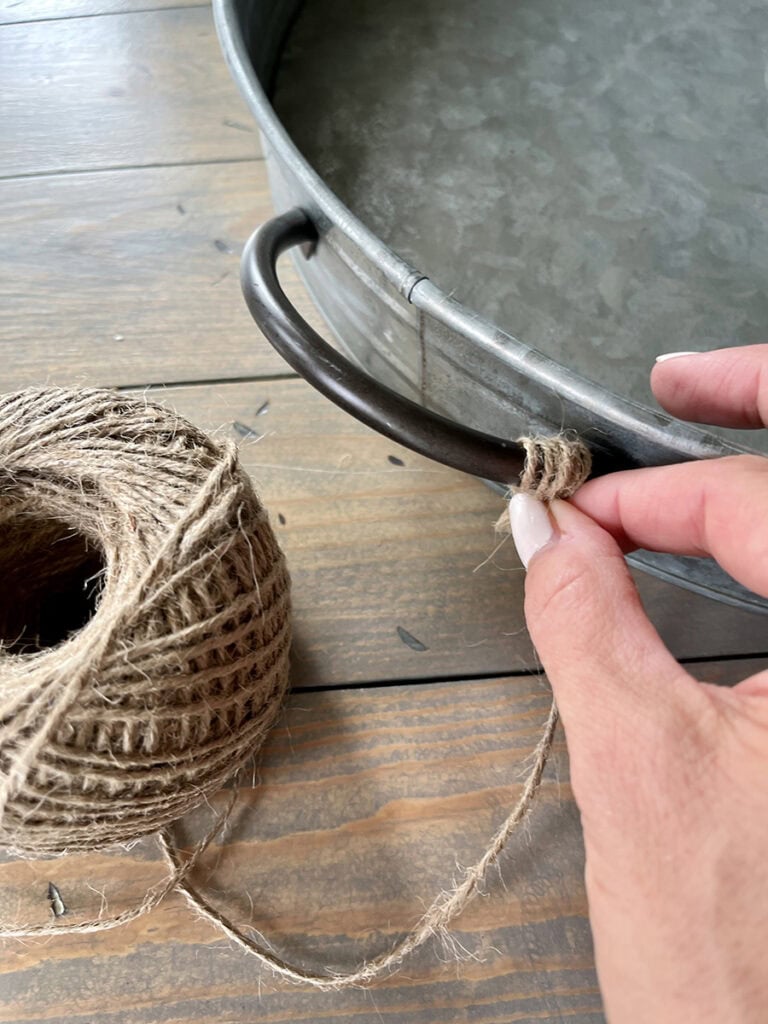
And speaking of effortless entertaining, if you’re looking for more hosting inspiration, check out my post on Easy Hosting Hacks. You’ll find plenty of tips to make your next gathering a breeze.
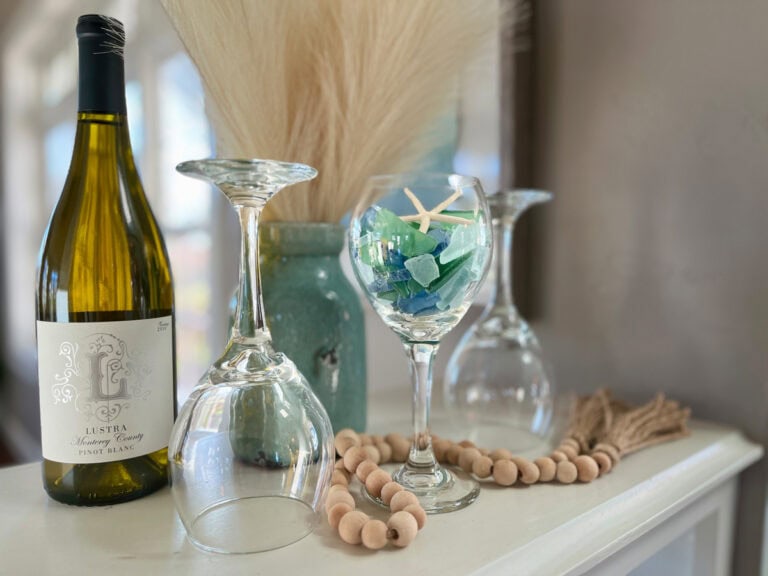
Additionally, if you want to upgrade your serving game, take a peek at my guide to building the perfect Glassware Collection. Having the right glassware can elevate any occasion, from casual get-togethers to elegant soirées.
If you enjoyed this post and want more practical yet stylish tips for your everyday life, be sure to subscribe to Flairfully Yours. Together, we’ll continue to make life a little more fabulous, one simple step at a time.
The Perfect Cookie Bars
Ingredients
Method
- Preheat oven to 350 degrees. Lightly grease bottom of 9×13 baking pan
- In medium bowl, stir brown sugar into melted butter until smooth.
- Gently mix flour into bowl until just combined.
- Spread dough evenly into baking pan, using hands.
- Bake for 18-20 minutes. Be careful not to overbake.
- Remove pan from oven and place on cooling rack. Immediately sprinkle chocolate chips evenly over the bars.
- Place a baking sheet, upside down, over the pan for a few minutes to allow the chocolate chips to melt to spreading consistency.
- Spread melted chocolate chips evenly over the bars.
- If desired, sprinkle with toppings of choice.
- Allow chocolate layer to fully cool and set before cutting and serving.
Notes
- I recommend using a pan no larger than 9”x13” to avoid thin bars. If you prefer thicker bars, opt for a smaller pan.
- If you’re short on time, opt for mini semi-sweet chocolate chips as they melt a bit quicker than the regular ones.
- Refrigerate the bars once the chocolate is spread, just long enough to allow it to set before cutting or serving.
- Alternative Option: If you prefer less chocolate, skip the chocolate layer on top. Instead, melt chocolate chips and drizzle the melted chocolate over the bars for just a hint of chocolate in every bite.


Recipe should read 1/2 cup butter (1 stick). We figured it out and are delighted with our quick and tasty treat!
Hi Charlotte, I’m so glad you’re enjoying them. They’re a very often-made treat in our house! I do use 1 cup (2 sticks) of butter when I make these.