Outdoor Planters Made Easy: Step-by-Step Tips
How to Build a Gorgeous Outdoor Planters
Get your outdoor planters looking lush, vibrant, and effortlessly styled with this step-by-step approach.
Whether you’re refreshing your front porch, patio, or balcony, these tips make your outdoor flower pots look vibrant and ready to impress!
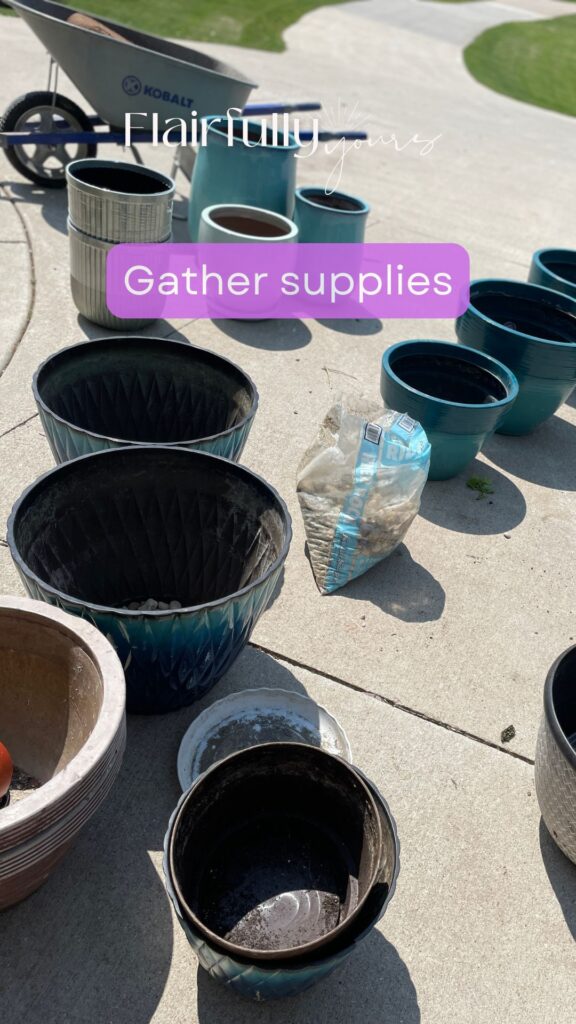
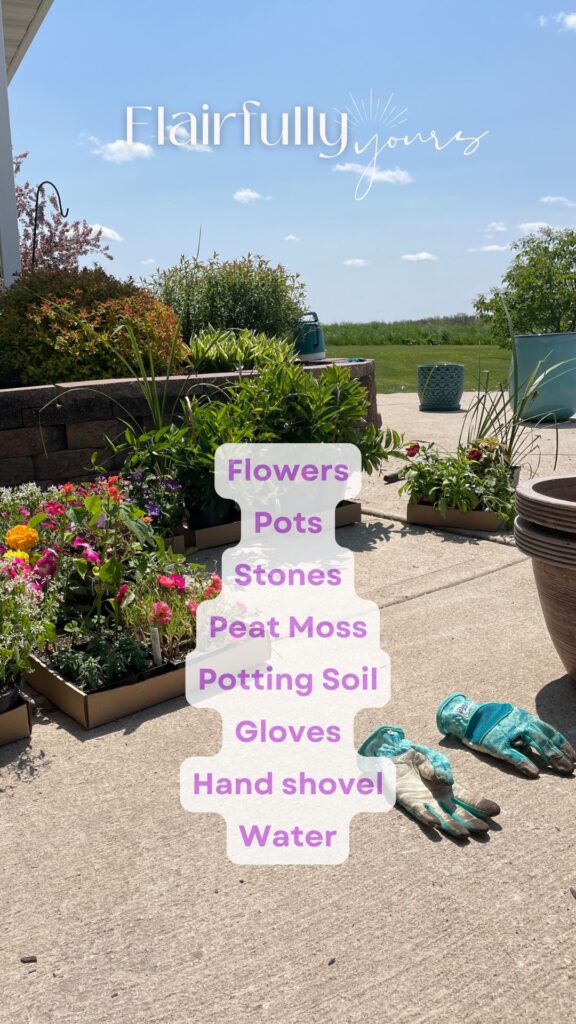
Step 1 | Gather the Supplies You’ll Need
Before you dig in, let’s get everything ready. Having all your supplies on hand means you can focus on planting and arranging your flowers. No scrambling or last-minute trips to the store.
- Gloves
- Potting soil
- Peat moss
- Stones (for drainage)
- Small nursery pots of flowers & foliage
- Your container/planter
Pro Tip: Having all your materials ready before you start makes planting your outdoor flower pots quick, fun, and stress-free.
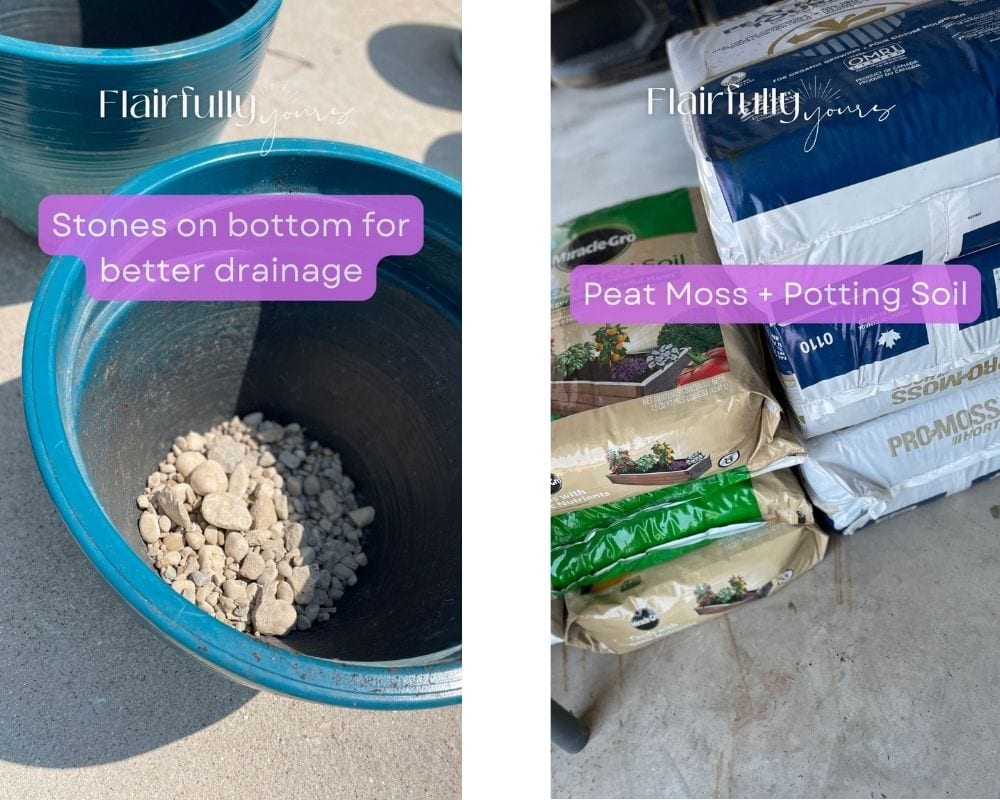
Step 2 | Prep the Pot & Add Soil
- Place stones at the bottom of your outdoor planters for proper drainage.
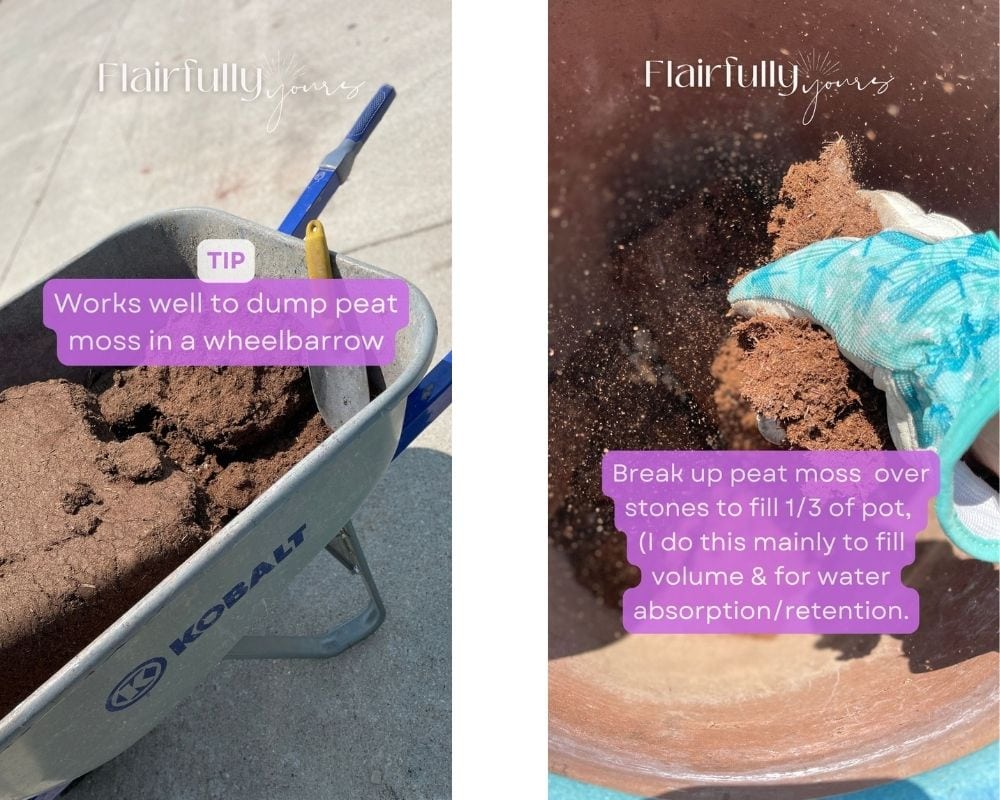
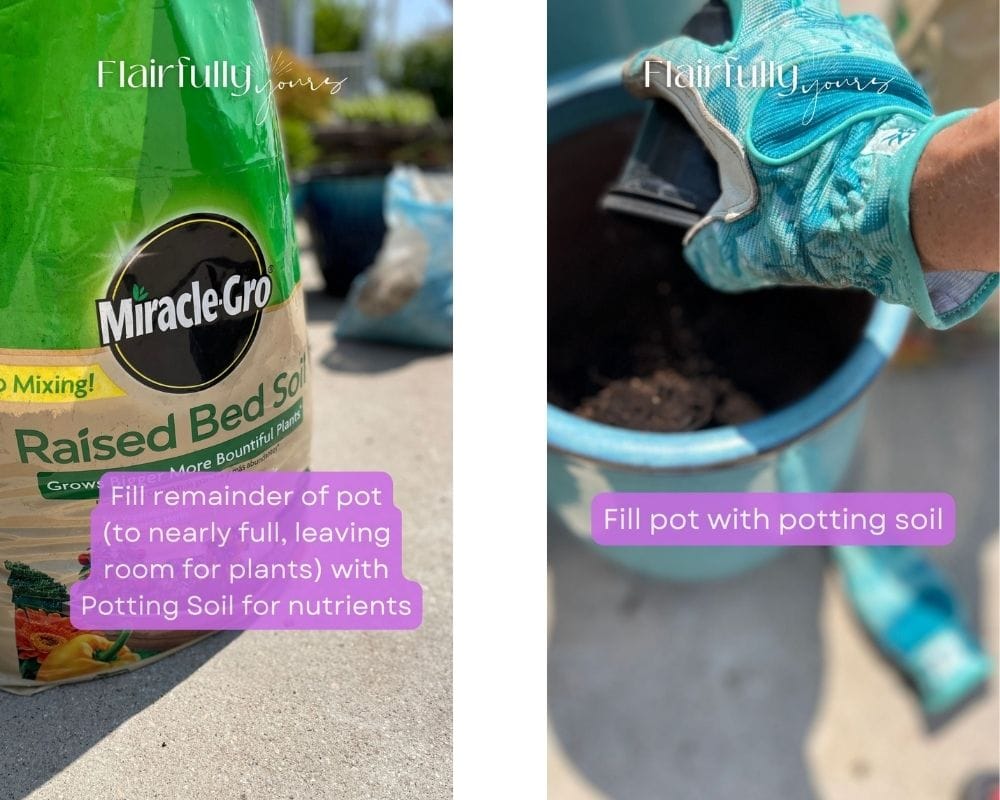
- Layer peat moss, then potting soil, leaving enough room for your plants.
- This combo ensures healthy roots and prevents waterlogging, which is key for long-lasting blooms.
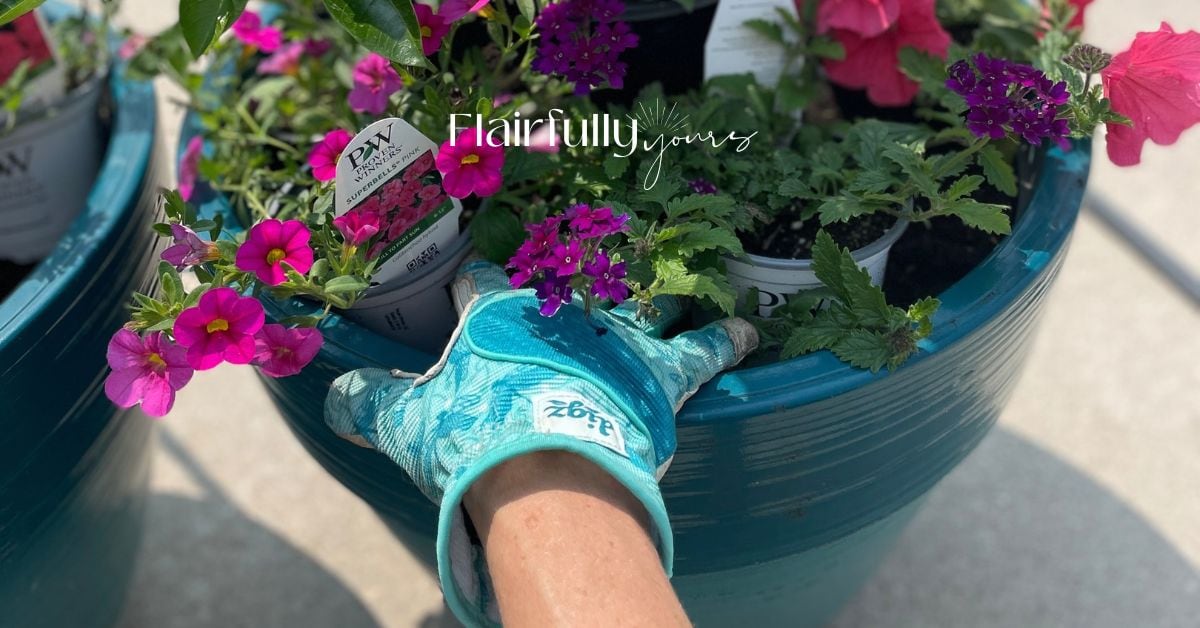
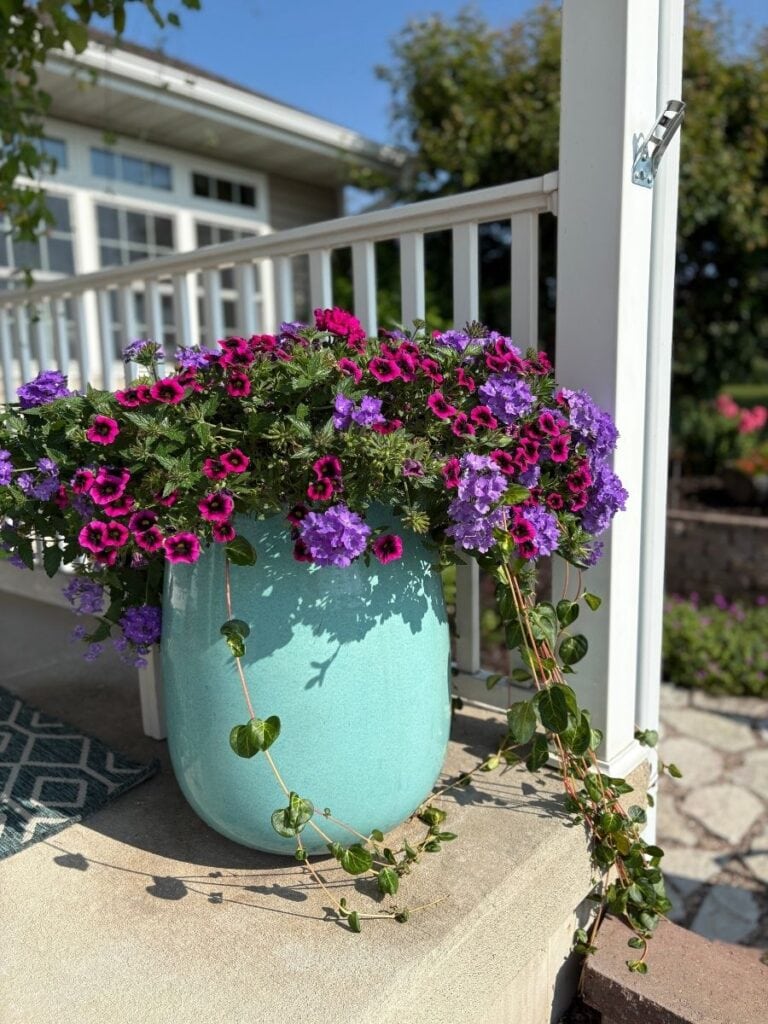
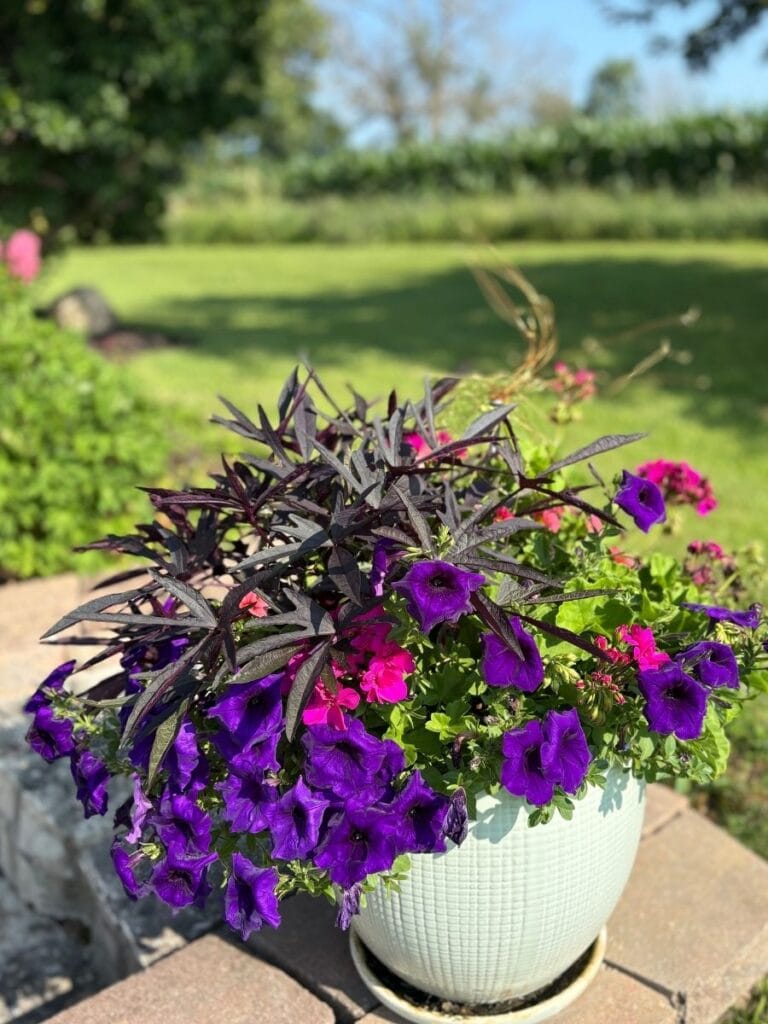
Step 3 | Gather Your Plants
- Choose your mix:
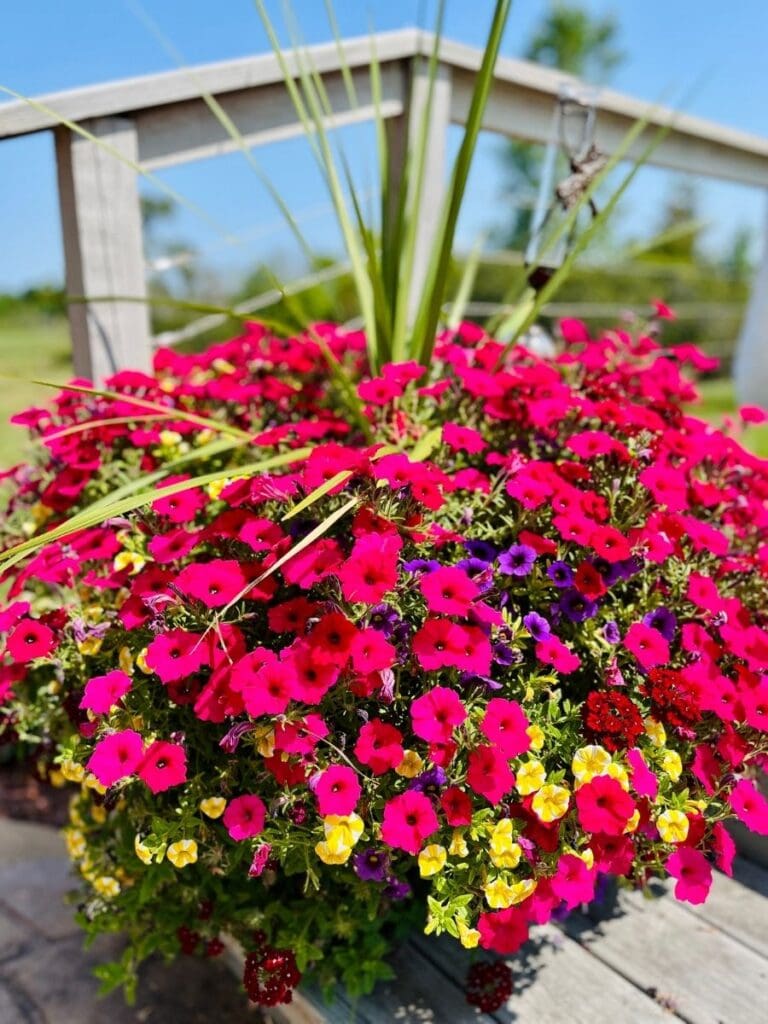
- Thriller – tall, dramatic plant for height
- Filler – medium-height plants for volume
- Spiller – trailing plants for edges
- Having all your plants ready and sorted by type makes arranging your outdoor planters easier and faster.
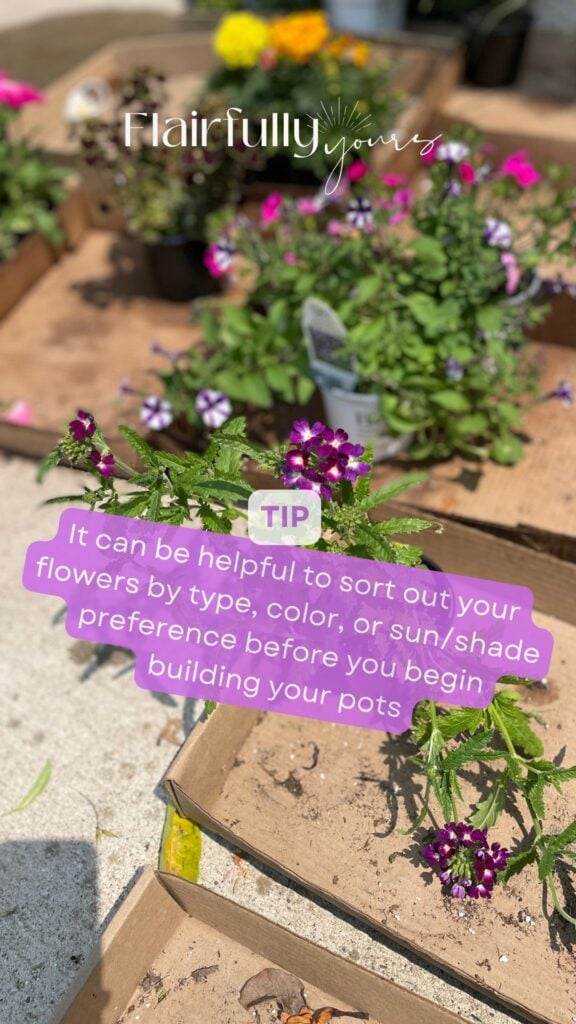
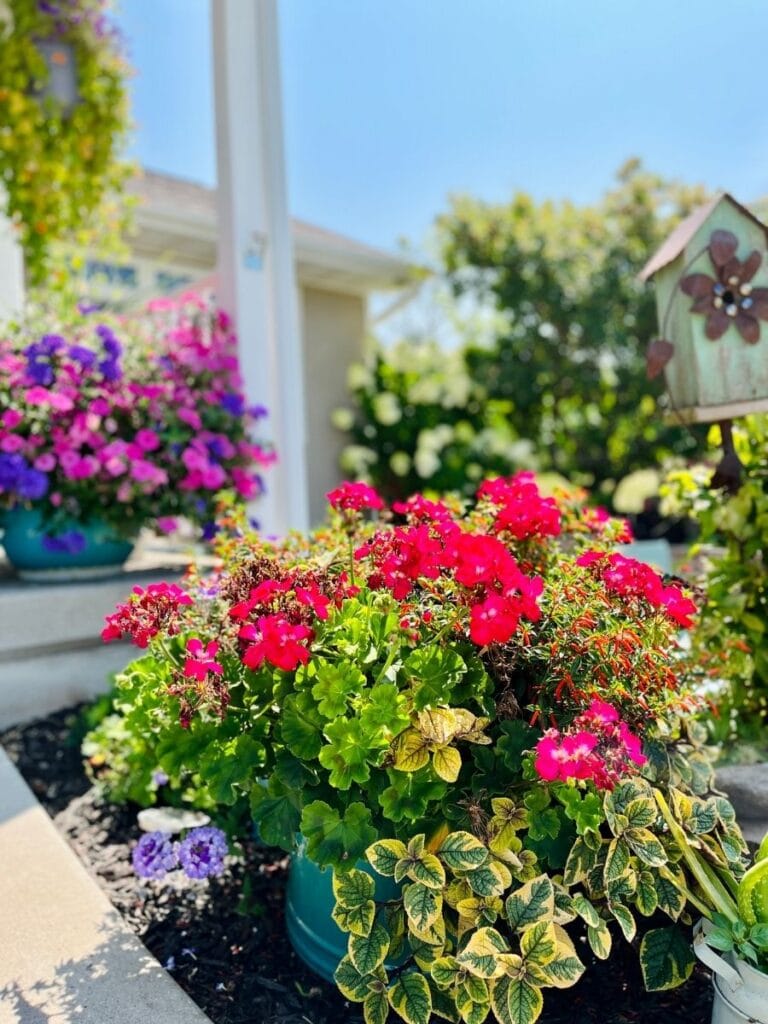
Step 4 | Group Planters by Area
- Group your outdoor planters by location: front porch together, back patio together.
- Why: Grouping helps you organize by sun/shade requirements, color palette, and plant variety—so you can decide whether you want matching pots or a fun mix of contrasting styles.

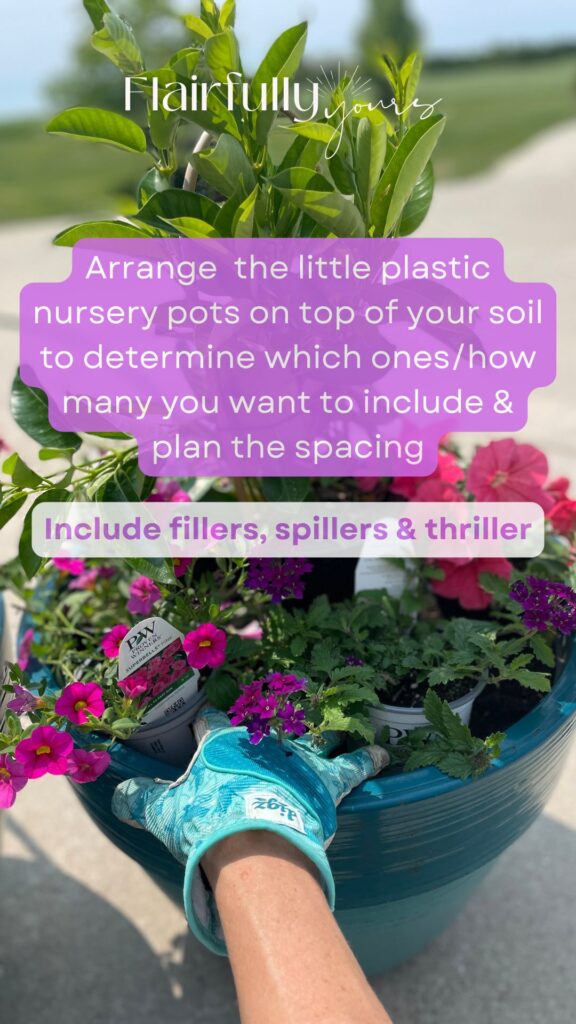
Step 5 | Test Layout with Nursery Pots
- Place the nursery pots on top of the soil to plan spacing and plant count within each group.
- Include thrillers, fillers, and spillers in your layout.
- Double-check that your thriller, filler, and spiller combo looks balanced from all angles.
- Testing now ensures that each group of pots looks balanced and that your choices for color, height, and texture work whether you want matching or varied pots.
- This lets you adjust before planting, so nothing feels crowded. MUCH easier to adjust now… than after you’ve already planted them in the soil!
Watch It in Action: Step-by-Step Planter Tips
Watch the full step-by-step video to see exactly how I lay out my plants, test spacing, and arrange your thrillers, fillers, and spillers in action!
Love this idea? Keep it handy.
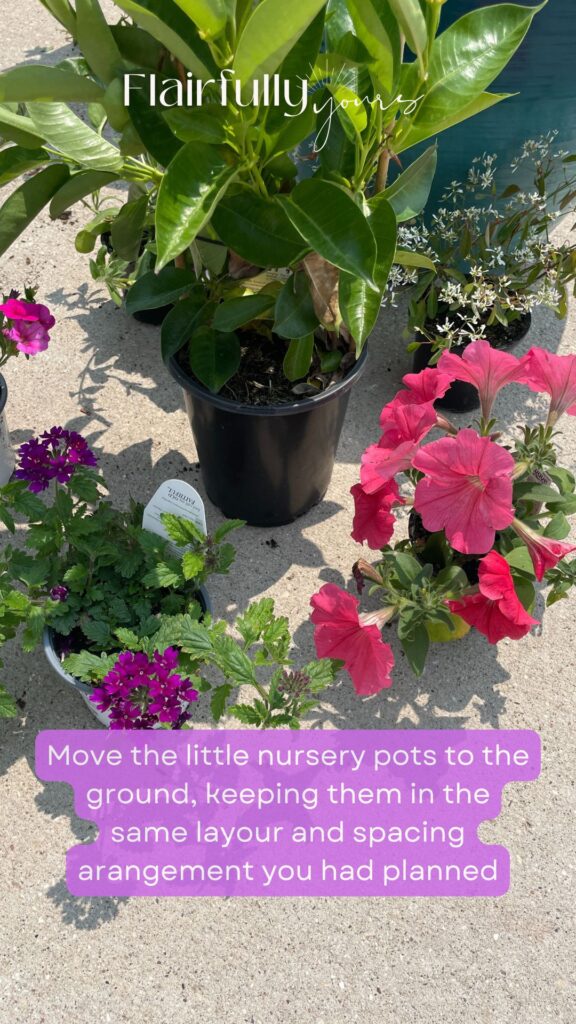
Step 6 | Move Pots to the Ground
- Place the nursery pots on the ground in the same layout to keep spacing consistent.
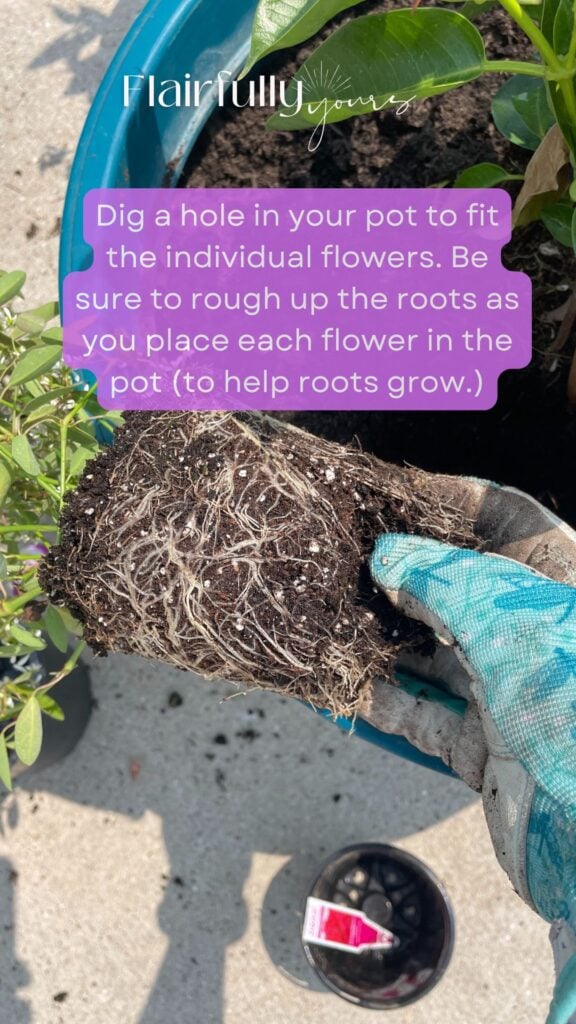
Step 7 | Plant Each Flower
- Dig a hole for each plant in the pot.
- Rough up the roots before planting to help them establish quickly.
- Place each flower in the pot following your planned layout.
- Ensure thrillers are centered, fillers around them, and spillers at the edges.
Step 8 | Top Off Soil & Adjust
- Fill in around each plant with additional potting soil to secure them.
- Press lightly to remove air pockets.
- Check spacing and symmetry — adjust plants as needed.

Step 9 | Water & Admire
- Water thoroughly.
- Tip: After the initial watering, you may notice the soil has settled—top off the planter with a little more potting soil to keep plants secure and level.
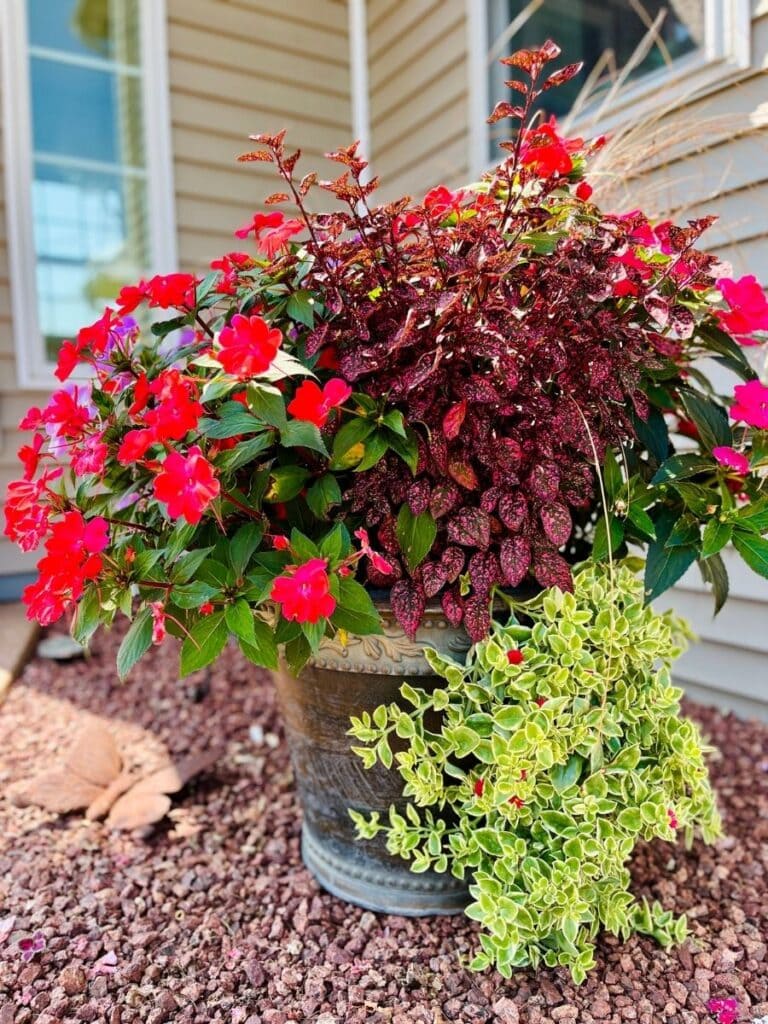
- Your layered thriller, filler, and spiller combination creates instant dimension and visual impact. Enjoy!
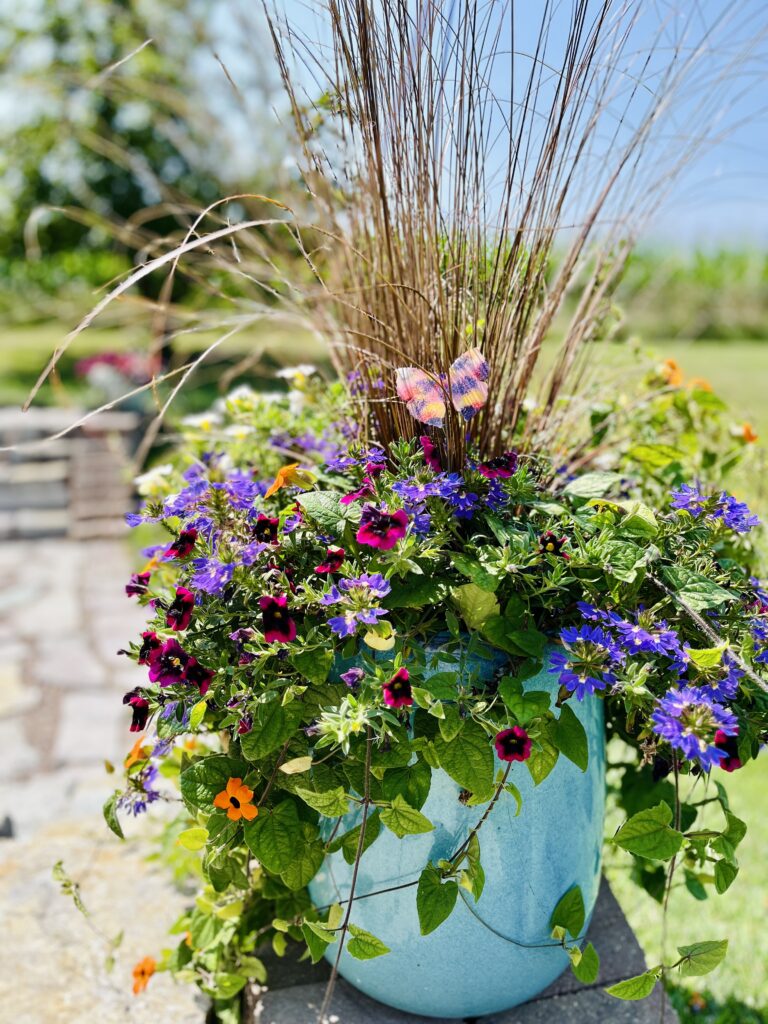
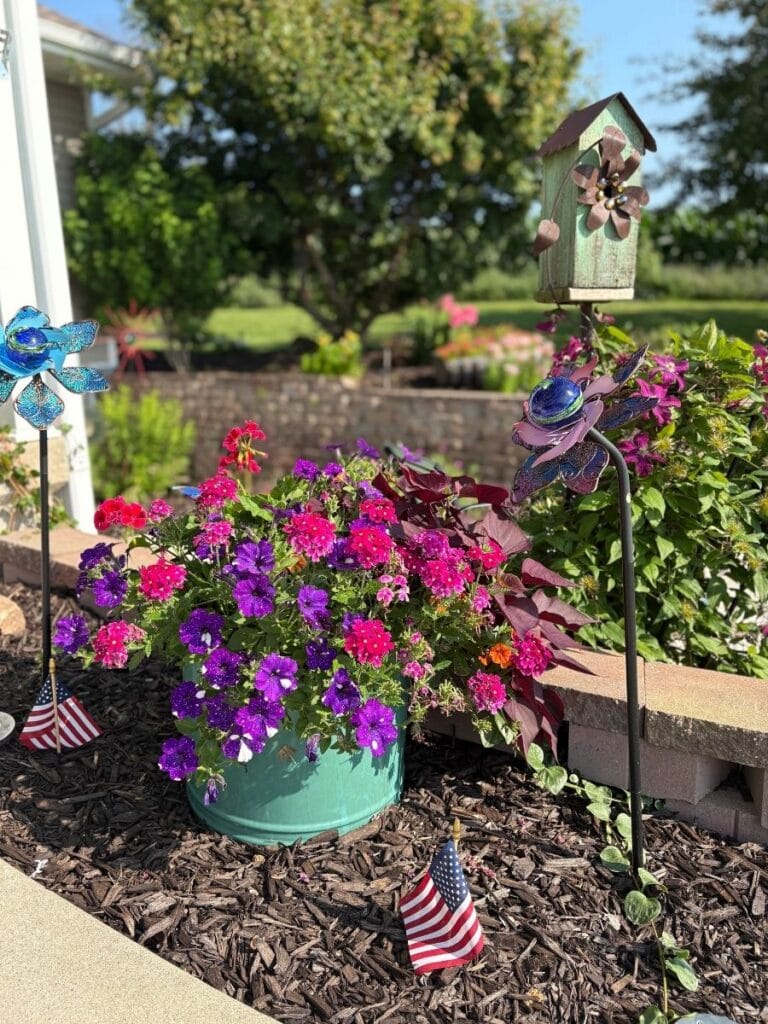
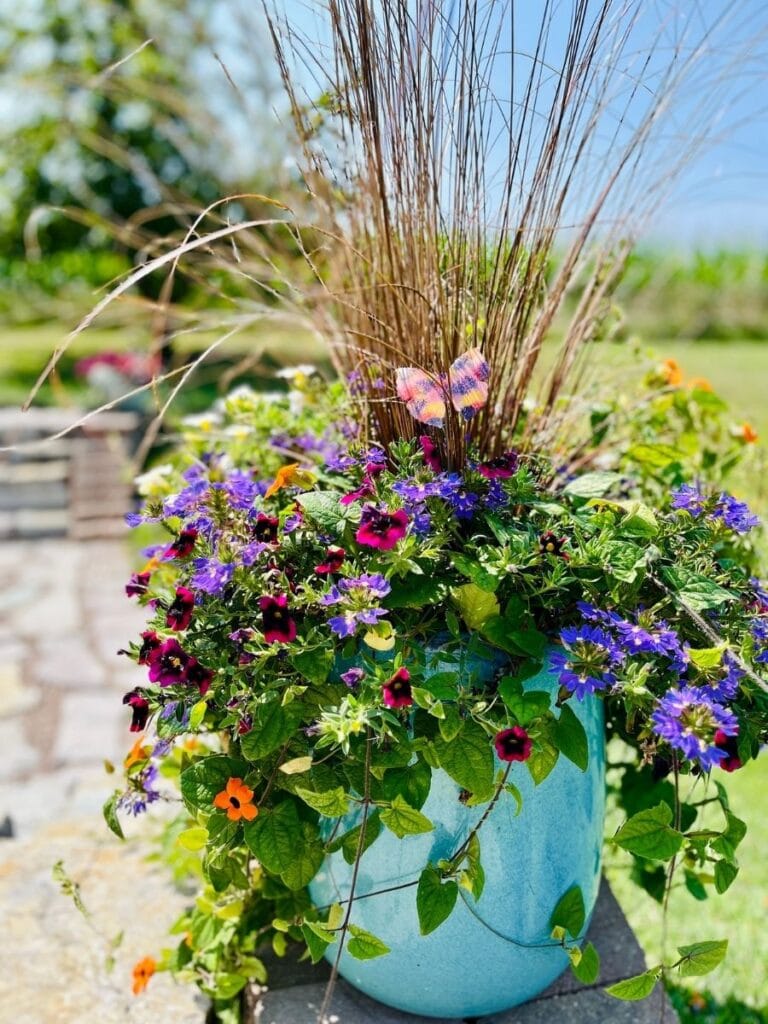
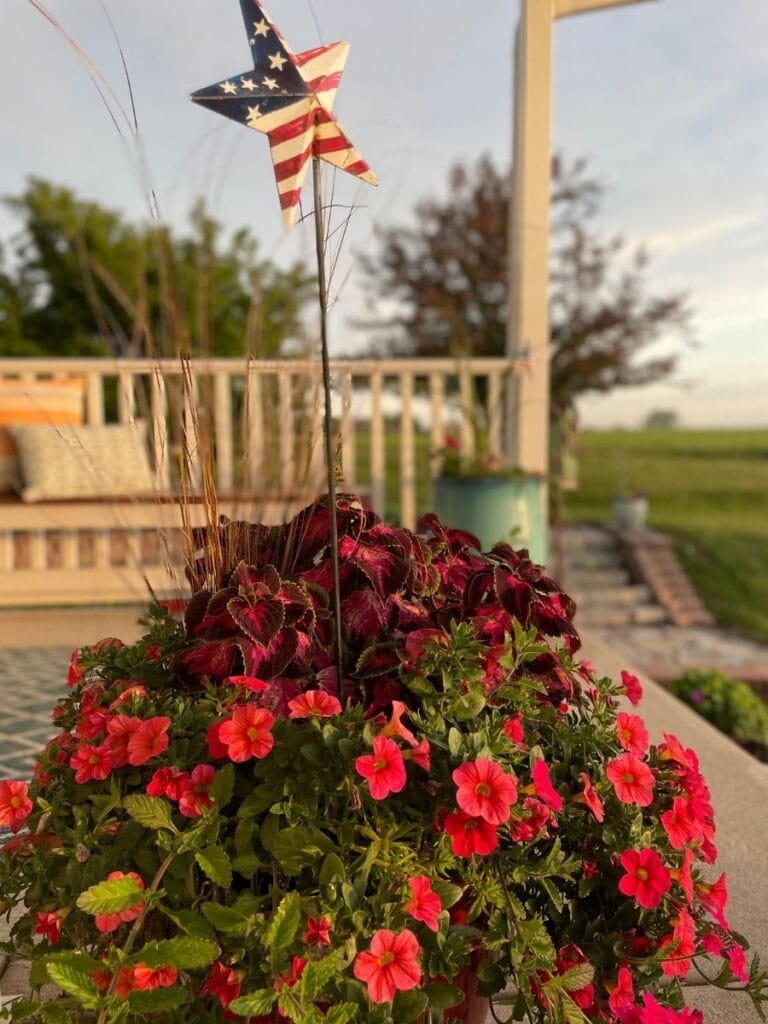
BONUS Step | Add a Little Flair
Want to give your outdoor planters that extra wow factor? 🌸 Once your flowers are planted, add small decorative accents—think garden stakes, butterflies, or colorful ornaments—to make your pots pop with personality.
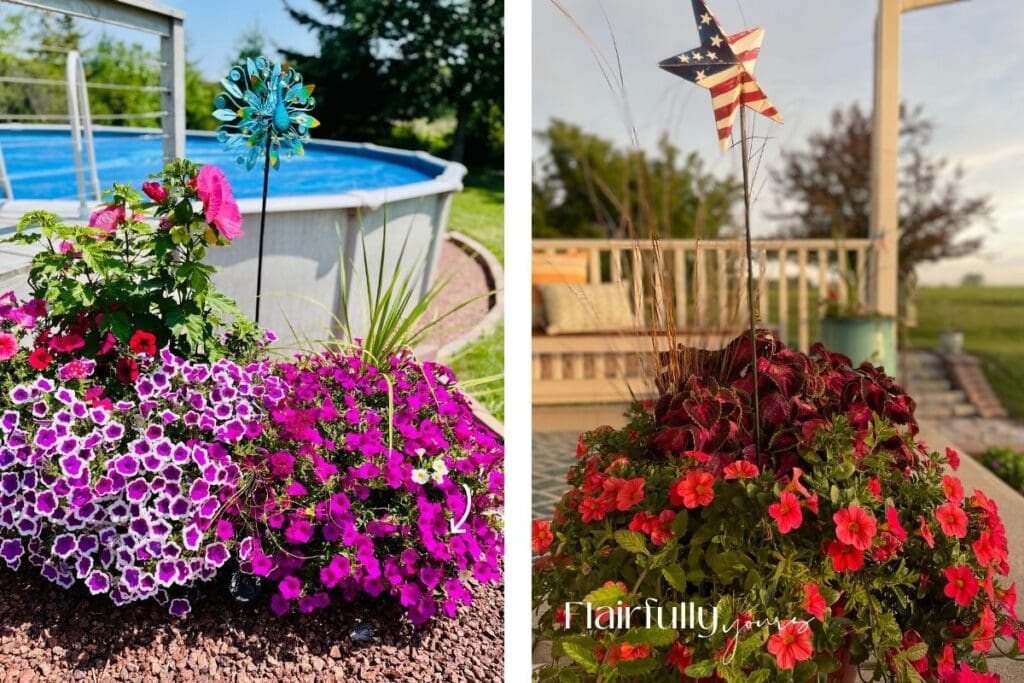
Here are some of my go-to favorites:
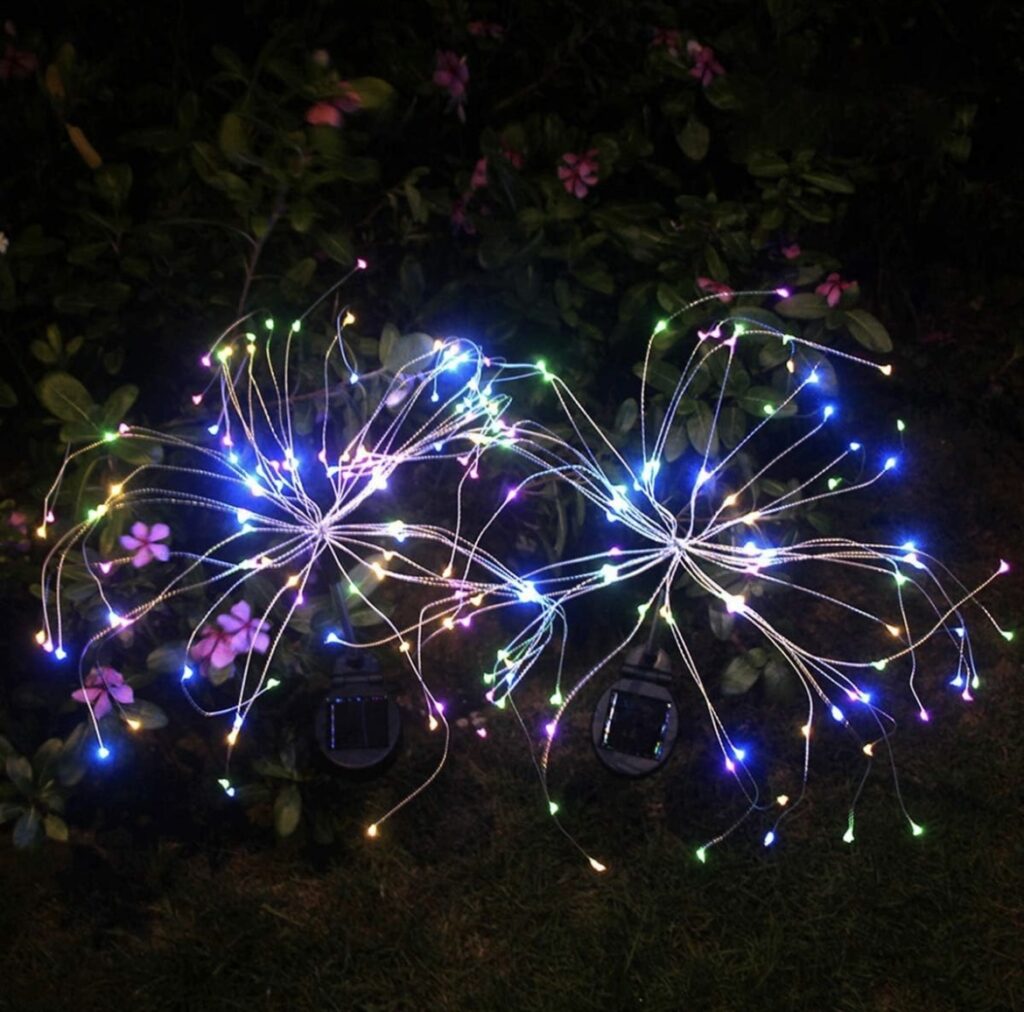
- Solar “Firework” Lights
- Patriotic Decorative Stakes
- Colorful Butterfly Garden Stakes
- Butterfly, Dragonfly & Hummingbird Stakes
- Decorative Garden Butterfly Stakes
Why this works: In true Flairfully Yours style, a little accent goes a long way!
These pieces add height, texture, and movement, helping your planters feel lively and totally “done” without ever feeling cluttered. Plus, it’s a quick way to add some fun to your outdoor living space!
Why This Works Great:
- Stones at the bottom = proper drainage for healthy plants
- Peat moss + potting soil = optimal soil conditions
- Roughing roots = faster plant establishment
- Nursery pot testing = perfect spacing and layout
- Grouping planters = coordinated color and texture flow across your outdoor spaces
- Decorative accents = added dimension, personality, and visual interest
With just a little planning, layering, and fun accents, your outdoor planters will feel much easier, more colorful, and totally ready to brighten any porch, patio, or garden.
Now grab your gloves, soil, and favorite blooms — it’s time to bring your pots to life!

In case you missed it above, here’s a quick video showing each step in action!