15 Christmas Decoration Storage Hacks to Simplify Cleanup
Well, friends, it’s that bittersweet time of year when the magic of Christmas makes way for… the mess, the cleanup, the Christmas decoration storage. Eek!
But don’t worry, I’ve got your back with some of my favorite (and super doable) tips to make holiday cleanup easier, faster, and a lot less stressful.
Trust me, your future self will thank you when next Christmas rolls around, and you’re not staring at a jumble of tangled lights and broken ornaments!
Grab a coffee (or that leftover Christmas cocktail!), and let’s get this cleanup party started.
1. Snap Photos Before You Start (Seriously — You’ll Thank Yourself)
Before you start tugging garlands off the mantel or pulling ornaments from the tree, grab your phone and take a few quick photos. Wide shots, detail shots, different angles — anything that helps you remember what you loved.
Why? Because next November, when your brain is juggling a million things, those photos become your shortcut to a beautifully styled home (without the guesswork or overthinking).
Want to see exactly what to photograph before you pack up?
Check out my Holiday Photo Checklist — it walks you through every key space and detail.
And if you want your entire holiday decorating process to feel smoother, more intentional, and a lot less stressful next year… Don’t miss this post on How to Decorate in a More Organized Way Next Year.

2. If You Don’t Love It, Let It Go
A rule to live by: if you didn’t use it this Christmas or the one before, it’s time to say goodbye.
Why keep something that just takes up space and collects dust?
Donate it, gift it, or toss it—it’s like giving yourself permission to love your decor even more.
3. Don’t Store It Broken
Let’s get real. You’re not going to fix that broken ornament or those tangled lights next year.
If something’s beyond repair (or not worth the hassle), let it go now.
On the flip side, if it is worth saving, fix it before you pack it away. No one wants to deal with bits and pieces of broken decor next year.
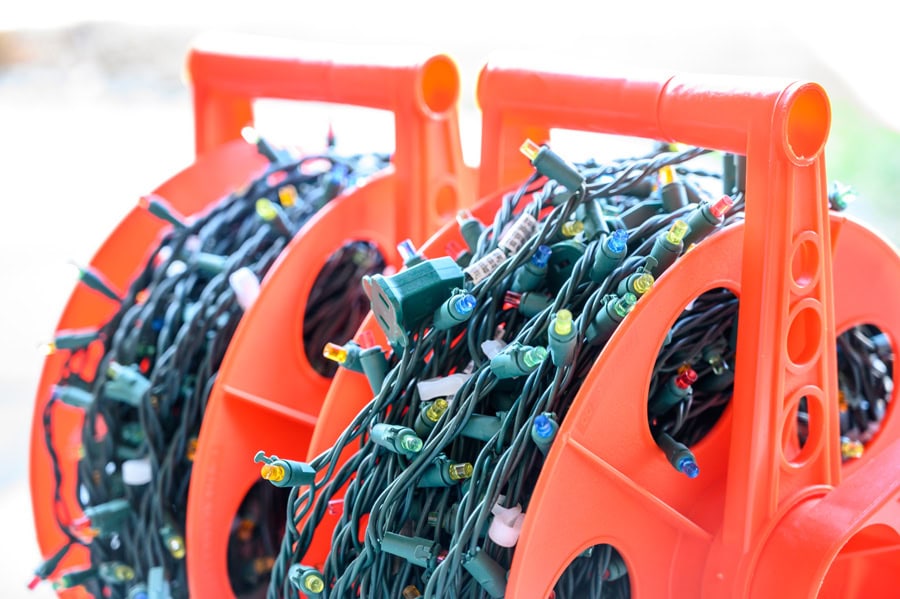
4. Be a Light-Wrapping Pro
Tangled lights are the worst. My go-to trick? Wrap them around a cord saver, a sturdy piece of cardboard, a notched piece of 2”x4” wood, or even an old coffee can. When December rolls back around, your lights will be ready to roll (or, you know, glow).

5. Label Everything Like a Boss
Labels are my holiday cleanup love language. Use a label maker, painter’s tape, or even a good ol’ Sharpie to clearly mark your bins. My go go-to is using white Avery shipping labels – either print on them or simply write on them with your Sharpie.
Trust me, future you will be so grateful when you’re not playing a game of “What’s in this box?” next year.
Or…. when you inevitably come across a piece of Christmas décor in a couple weeks that you missed during cleanup! Happens to me. Every. Year.

6. Pack by Room or Theme
Consider this an essential step for Christmas decoration storage!
It’s my favorite tip because it makes unpacking so much easier. I pack all my holiday decor by room—living room, dining room, kitchen, etc.—so when it’s time to decorate next year, everything’s already grouped and ready to go.
Just make sure to label accordingly, too! (Refer to #5 above!)
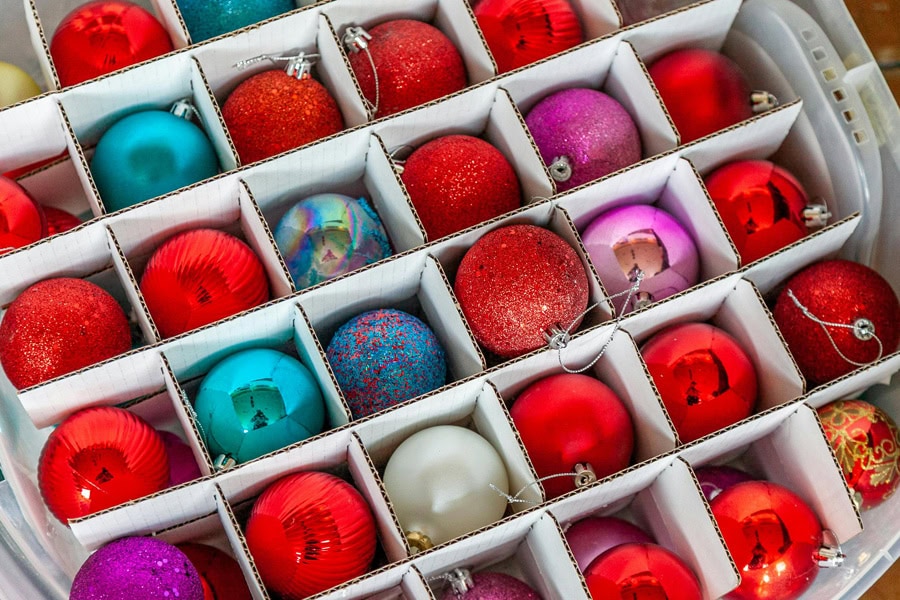
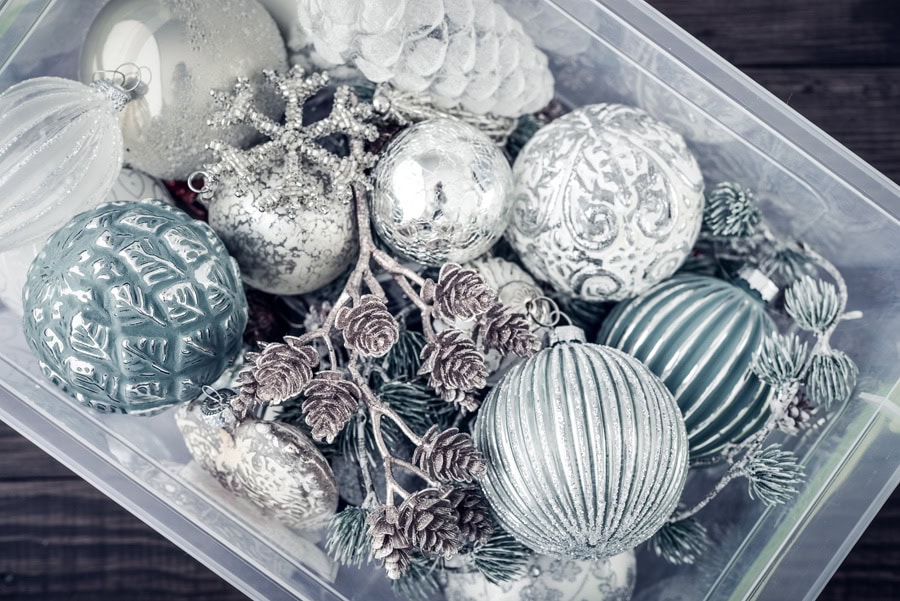
7. Organize by Color
If you follow me, you know I love decorating with a specific color palette — and yes, I fully lean into it.
If that’s your style too, try packing your décor by color. Group similar tones together instead of mixing everything in one bin. All the silver and gold pieces in one container, reds and greens in another, blues in their own bin, and so on.
For me, that means a dedicated blue ornament bin and a separate gold‑and‑silver ornament bin. This simple Christmas decoration storage trick makes it incredibly easy to recreate a look you love next year — or swap in a different palette without digging through everything.
While you’re thinking about color palettes, why not start dreaming about next year’s look?
Check out my Coastal Christmas Decor: 3 Holiday Color Palettes for dreamy ideas or dive into Sage Green Christmas Decor for a fresh, modern holiday vibe. It’s never too early to start planning your holiday masterpiece!
Love this idea? Keep it handy.


8. Keep Items Together for Specific Displays
If you always put certain ornaments or baubles in a vase, for example, store them together in a labeled bag inside the bin for that room. (I’m talking a simple ziploc bag, or even a plastic shopping bag — because who doesn’t have a million of those!)
Same goes for garlands and lights for a specific tree. Keeping everything you need for each display together is a total time-saver.
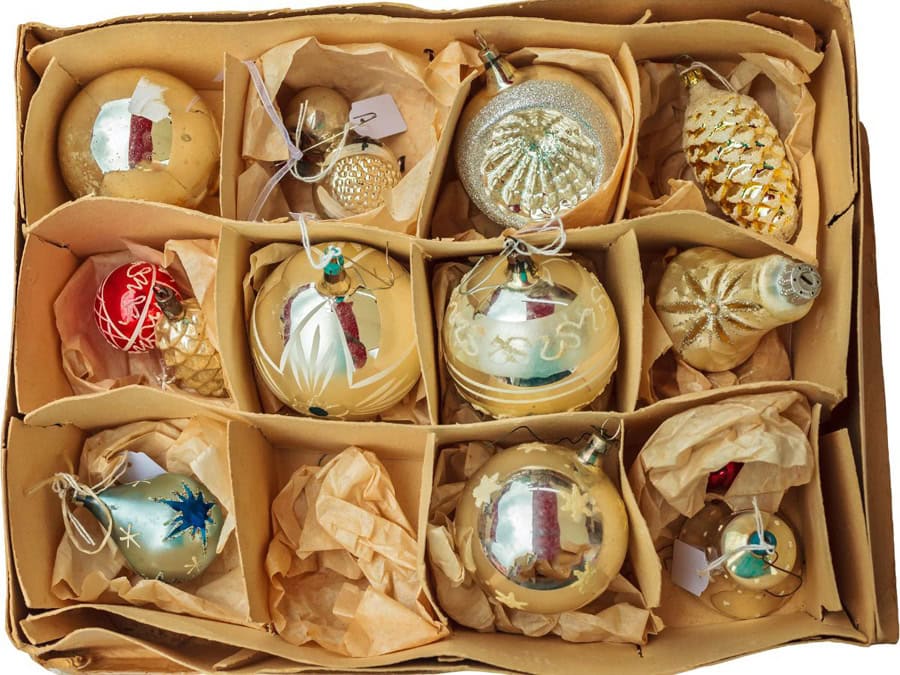
9. Stock Up on Packaging Supplies for Breakables
This is a pro tip I swear by: have plenty of wrapping materials on hand for your fragile decor. I use newspaper, old towels, plastic shopping bags (again, odds are that you have a surplus of these on hand,) and even bubble wrap to protect ornaments and breakable pieces.
Twist ties and Ziploc bags are lifesavers, too, for organizing smaller items like ornament hooks, ribbon scraps, or extra light bulbs.
10. Pre-Pack a “First-Up” Bin
Pack a bin with your holiday essentials—the tree stand, extension cords, or that wreath you always hang first.
Label it “FIRST UP” (yes, in all caps!), and store it where you can grab it easily. It’ll save you so much time when you’re ready to start decorating next year.
11. Create a Wrapping Supply Bin
This one’s a must. Gather all your leftover wrapping paper, gift bags, ribbons, and tags, and store them in one bin or organizer. Toss anything too crinkled or worn, and you’ll start next year with fresh supplies.
My ultra high tech (not at all!) system is storing my gift bags in paper shopping bags lined up in a large rubbermaid bin. I have a different paper shopping bag for different themes: Christmas, Birthday, Baby Shower, etc.
Fun Fact: my first son was born in 2007…. and I honest to goodness still have one or two baby gift bags left in my stash that were recycled from his baby shower!


12. Donate Unused Items Now
If there’s decor you didn’t use this year, pass it on! Someone else might love those items, and you’ll free up space for new pieces that better fit your style.
Done with the purple ornaments you’ve been using on your tree for the past few years? Pass them on – someone will be delighted to have a new color to use on their own tree next year.
13. Don’t Forget the Batteries!
Before you pack up your holiday lights and light-up decor, take a moment to remove the batteries. Trust me, I’ve learned this one the hard way! Leaving them in can cause leakage or corrosion, and the last thing you want is a sad strand of lights that won’t twinkle next year.
Toss the used batteries if they’re done, or keep a baggie of still-good ones handy for other devices around the house.

14. Make Note of What Worked (and What Didn’t)
Before you finish packing everything away, take five minutes to jot down what worked and what didn’t this year.
Did you love the new tree placement?
Wish you’d had more lights for the porch?
Out of gift tags?
Write it down and tuck the note in your FIRST‑UP bin — or create a quick note in your phone so it’s easy to find next year. Your future self will appreciate it.
15. Snap a Photo of Your Storage Setup (A Final Christmas Decoration Storage Hack)
Once all your holiday decorations are packed and neatly stored, take a quick photo of your bins, labels, and how everything is arranged.
Why? Because next year, you’ll know exactly where everything is without having to play a game of “bin roulette.”
Plus, if you’re like me and get a little… ambitious with adding new decor each year (hello, post-holiday sales!), you’ll have a visual reference to make sure it all fits back into your Christmas decoration storage system.
Wrap-Up: Simplify and Smile
Cleaning up after the holidays doesn’t have to be a chore. With these simple Christmas decoration storage tips, you’ll not only stay organized — you’ll also set yourself up for a smoother, stress-free holiday season next year.
You’ll love how much easier it is to dive into decorating when everything is labeled, sorted, and ready to go.
Once the bins are packed, this is the perfect moment to shift into a softer January reset.
I put together a New Year Home Reset with 10 tiny, feel-good tweaks that help your home feel calmer, fresher, and more put together — no deep clean required.
And before you close that last bin, don’t miss these two reader-favorite posts that make next Christmas so much smoother:
🎄 Organized Christmas Decorating — My plan for sorting, simplifying, and decorating smarter next season.
📸 The 5-Minute Photo Trick That Makes Decorating Next Christmas Easier — A simple checklist-style guide to snap now and save yourself hours next year.
✨ Grab the tips, check them off, and make your future self so glad you did!