Create a 5 Photo Collage: Tips on Hanging Pictures Over Bed
Elevate your bedroom decor with a personalized touch! Discover the art of creating a stunning 5-photo collage above your bed, adding both style and cherished memories to your space.
Whether it’s in the master bedroom, your kid’s room, or even the guest bedroom, this idea can transform any bedroom into a haven of warmth and personality. From choosing the perfect layout to selecting themed photos, let’s dive into the details and embark on this creative journey together.

4 Key Elements to Building Your DIY Photo Collage
This technique offers remarkable versatility, allowing you to explore various styles, colors, and overall vibes. It hinges on four key elements: the choice of photos, frames, collage layout, and accent detailing, each contributing to the overall aesthetic and feel of your space.
While the colors and content of the photos are the main star of the show and set the tone, it’s the frame selection and layout that gives personality and style. The cherry on the top is the small details – such as the ribbon and glass knobs used in the photos below – that pulls together the surrounding bedroom space.

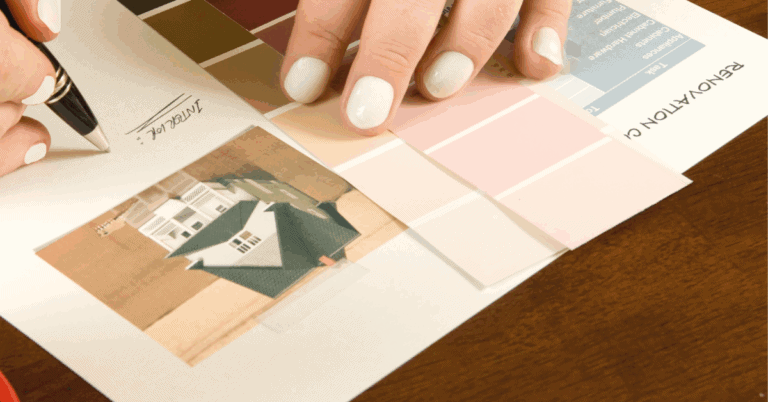
Step 1: Choose Your Photo Collage Layout
When planning your photo collage, start by considering the available wall space and bed size. Larger beds offer more room for frames, while smaller beds benefit from a more focused display.
Keep in mind that opting for fewer, larger frames creates a more striking impact, with odd numbers like five frames enhancing visual appeal.
My go-to layout is a 5-photo collage displayed in matted frames, featuring a layered layout incorporating both rectangle and square frames to enhance depth and visual appeal.
See another 5-photo galley wall in my Lake Life Décor with Wood Water Skis project.

Here’s a handy tip: Before hanging your frames, cut out paper or cardstock in the same size and shape as your intended frames. Tape them on the wall to plan your layout. This lets you see how everything will look and helps you get the spacing and height just right. Trust me, it’s worth doing this step before you start hammering nails into the wall!
Here are a few examples of other 5-photo collage layouts to consider:


Step 2: Picture Frame Options for Your 5–Photo Collage
Once you’ve settled on your overall layout, it’s time to consider the shapes and sizes of the frames you’ll use. If you already have frames, great! But if not, think about how many frames you’ll need and in what sizes and shapes to fit your chosen layout.
Now, onto the fun part: frame styles and colors. Do you want a consistent look with the same color and style for each frame, or are you feeling more eclectic? If you’re mixing it up, aim for some consistency to avoid a cluttered look. Do this by alternating colors or shapes in a pattern to keep things cohesive.
For instance, if you opt to mix and match two different wood frame colors, such as white and weathered wood, create a pattern by alternating between white and wood tones (ex: white – wood -white – wood – white.) This creates a cohesive yet dynamic display, adding flair while maintaining a sense of harmony in your collage.
A well-organized arrangement like this might include, for example, a total of five frames: three 16” square white frames combined with two 11” x 14” rectangle weathered wood frames.
Love this idea? Keep it handy.
Here’s a great set of white square frames to build your gallery. Try mixing and matching with these beige oak picture frames. Oo la la!!
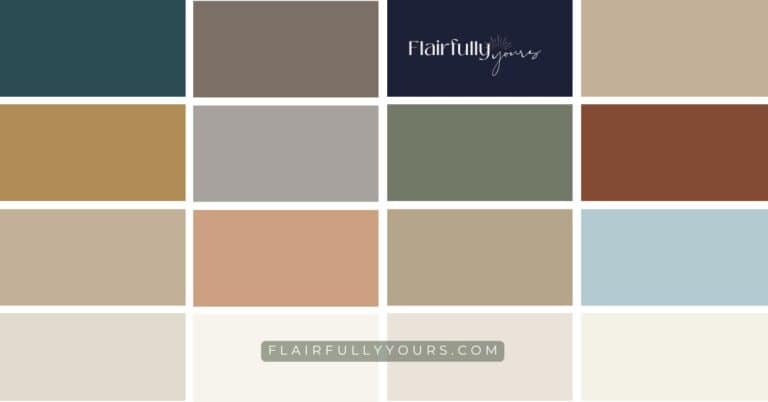
Consider the vibe you wish to create with your frames. Classic white frames with a thick white matte give a fresh, clean feel, while ornate, gilded frames add elegance. Metallic frames bring glamour, while bleached wood or rattan frames evoke a laid-back coastal vibe.

Let your room’s style guide your frame choice. Take a look at the rest of your room. Are there components you can pull together? If you’re going for a beachy vibe, you could mix white frames with weathered wood. And if you want the focus to be on the photos, opt for simpler frames. Remember, your frames should complement your room’s decor and enhance the overall look.
Step 3: Pick a Photo Collage Theme and Select Your Photos
Selecting a theme for your photo collage is like curating a story that speaks to your heart and brings joy to your space every time you enter. Consider what inspires you and resonates with the ambiance you want to create. Then get creative in building a meaningful collection of photos that are sure to bring a smile each time you look at them.
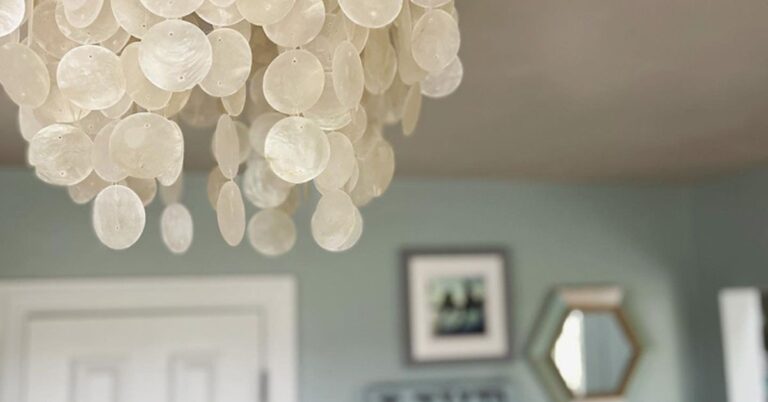
For instance, I drew inspiration from a series of photos capturing the vibrant turquoise waters of a family vacation in Cabo San Lucas to build the 5-photo collage shown in the photos. In keeping with my overall decor theme of casual coastal, these images not only evoke cherished memories but also provide the perfect pop of color against the soft aqua and gray tones of my bedroom décor.


Find a theme that speaks to you. Here are several ideas to get your creative juices flowing:
Photo Series Inspo:
- Take a nostalgic journey with wedding photos of your parents and grandparents.
- Delve into vintage charm by exploring your or your parents’ childhood photo albums.
- (Like this delightful photo of my grandmother at 24, proudly posing with her brand-new ‘68 Plymouth, that I stumbled upon.)

- Capture the growth of your kids from infancy to adolescence or feature snapshots of each child at the same age.
- Chronicle your relationship timeline with your significant other, from early dating days to the present.
- Create a serene series of sunset snapshots from different locations.
- Capture the essence of your children or pets with silhouette photos.
- Celebrate family unity with images of hands and feet, (ex: holding your husband’s hand, holding your child’s hand, each of your feet in the sand, your children’s feet as a baby, etc.)
- Showcase your family’s favorite pastimes and hobbies. (See an example in my Lake Life Décor with Wood Water Skis post.)
- Parents, have fun with an impromptu pillow fight with your kids while someone captures the joy with the camera.
- Curate a collection of close-up shots that tell the unique story of your life, from street signs to wedding rings.
- Embrace water-loving adventures with a series of “jumping in the lake” shots.
- Infuse humor with silly selfies of your kids, transformed into black-and-white portraits.
- Highlight a vibrant color theme by incorporating items in that color into your photos, like a cobalt blue kayak or a bright blue cornflower, your son wearing a blue shirt or a row of beach chairs including one in just the right blue.
- Create a 5-photo “Through the Seasons” collage featuring photos taken in the same location across different seasons, showcasing the changing landscape and atmosphere.
- Craft a “Family Traditions” collage featuring snapshots of annual traditions and celebrations, from holiday gatherings to special rituals.
- Build a “Home Sweet Home” collage with images capturing different rooms and corners of your house, celebrating the unique charm and character of your home.
- Fashion a “Favorite Things” collage incorporating photos of cherished possessions, hobbies, and experiences that bring you joy and inspiration.
- Design a “Nature’s Beauty” collage showcasing trees, floral arrangements, and natural wonders encountered in your own yard or on your outdoor adventures.
Step 4: Add Details to Coordinate With The Bedroom
Let’s add those final touches to really tie everything together! Silver ribbon detailing was my secret weapon here. I strategically looped it over drawer pulls that match the nightstand hardware, creating a seamless connection between elements. Those vintage-inspired glass knobs on my gray Wayfair nightstands? You guessed it – I used the same ones to maintain that cohesive look. Take a peek around your room – what other decorative accents can you incorporate?


If you’re using black and white photos, think about using a vibrant colored ribbon for an added pop of color. Want a touch a glam? Try metallic ribbon. Trying to work a new accent color into your bedroom? The ribbons offer the perfect opportunity. And don’t feel you have to stick will all the same color – perhaps you want each ribbon to be a varying shade of a particular color.
Here’s a fun tip: The ribbons aren’t serving a functional purpose for the frames; they’re purely for decoration! First, I hung the frames on nails to get the height and placement just right. Then, I added the ribbons, looping over the drawer pulls. This method made it MUCH easier to get the exact height and placement I wanted.

From choosing the perfect layout to selecting themed photos and adding thoughtful details, Elevating your bedroom decor with a personalized touch is within reach! So, roll up your sleeves, get creative, and watch as your bedroom becomes a reflection of your unique story and style. Happy decorating!