Quick Fix for Tired Stools: A DIY Seating Solution for Your Next Gathering
Need a quick fix for tired counter stools? This easy DIY seating solution uses fabric and a staple gun to refresh worn-out stools in under an hour.
Last-Minute DIY
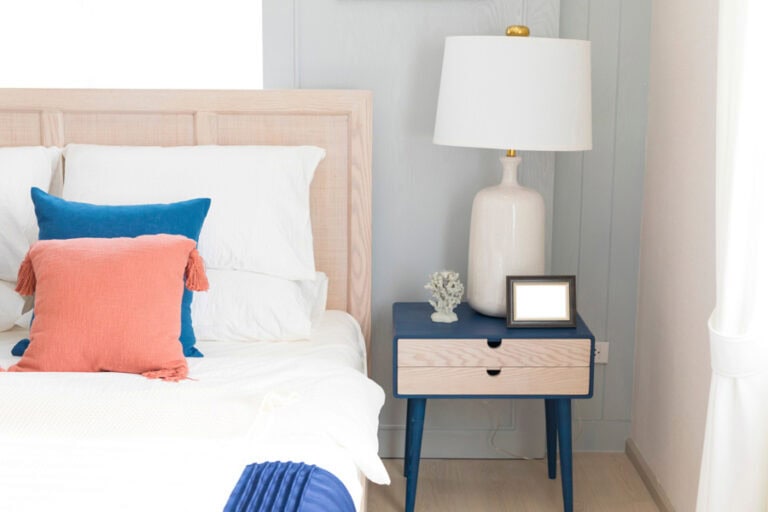
You know those projects that just happen? The ones that weren’t planned, weren’t on your to-do list, but suddenly become urgent? Yeah, this was one of those. This quick DIY turned into the perfect chance to bring my home’s soft, coastal color palette to pieces that didn’t quite fit before!
A few weeks ago, we were hosting my sons’ swim team for a team dinner. Our kitchen island is the gathering spot, and we only have four regular counter stools—so when we entertain, we bring up our old, beat-up backup stools for extra seating.
These stools are 16 years old, cost $10 each (literally, 10 bucks!) when we built our home, and have way surpassed their money’s worth. Let’s just say, they’ve seen better days.

A Last-Minute Refresh That Made All the Difference
But just hours before the party (yes, hours), I took one look at them and thought: Yikes. These need help. And because my husband is the real MVP, he jumped in for a super-speedy counter stool refresh that took less than an hour. (Why this party finally made me realize it, I have no idea—I should have done this ages ago!)

This quick stool makeover got me thinking… when was the last time you gave your spaces a little refresh? A simple update can make a huge impact, whether it’s swapping out decor, adding new textures, or brightening up a room with fresh colors.
If you’re looking for more inspiration, check out 30 Easy Room Transformations for quick styling tricks. And if you’re ready to bring a fresh, seasonal feel into your home, you’ll love these Simple Spring Home Updates—easy swaps that instantly refresh your space!
The Quick & Easy Counter Stool Refresh
Let me be clear—this was NOT a professional upholstery job. This was an on-the-spot, make-it-work DIY fix that just needed to look better for the night. And honestly? It worked perfectly.
What You’ll Need:
- Fabric that matches your space (or whatever you have on hand!)
- I recommend looking for tones that complement your home’s overall color scheme— in my case its the soft blues and grays I love for a coastal-inspired vibe.
- A heavy-duty staple gun (this makes it SO easy!)
- Scissors (for trimming the fabric to size)
- A screwdriver or drill (for removing & reattaching the seat)
- A “done is better than perfect” mindset

Step-by-Step: How We Refreshed Our Counter Stools in Under an Hour
1. Remove the Seat from the Counter Stool Legs
Most counter stools have screws underneath holding the seat in place. Grab a screwdriver or drill and remove them—it’s much easier to staple fabric when the seat is detached.

2. Chose Your Counter Stool Fabric
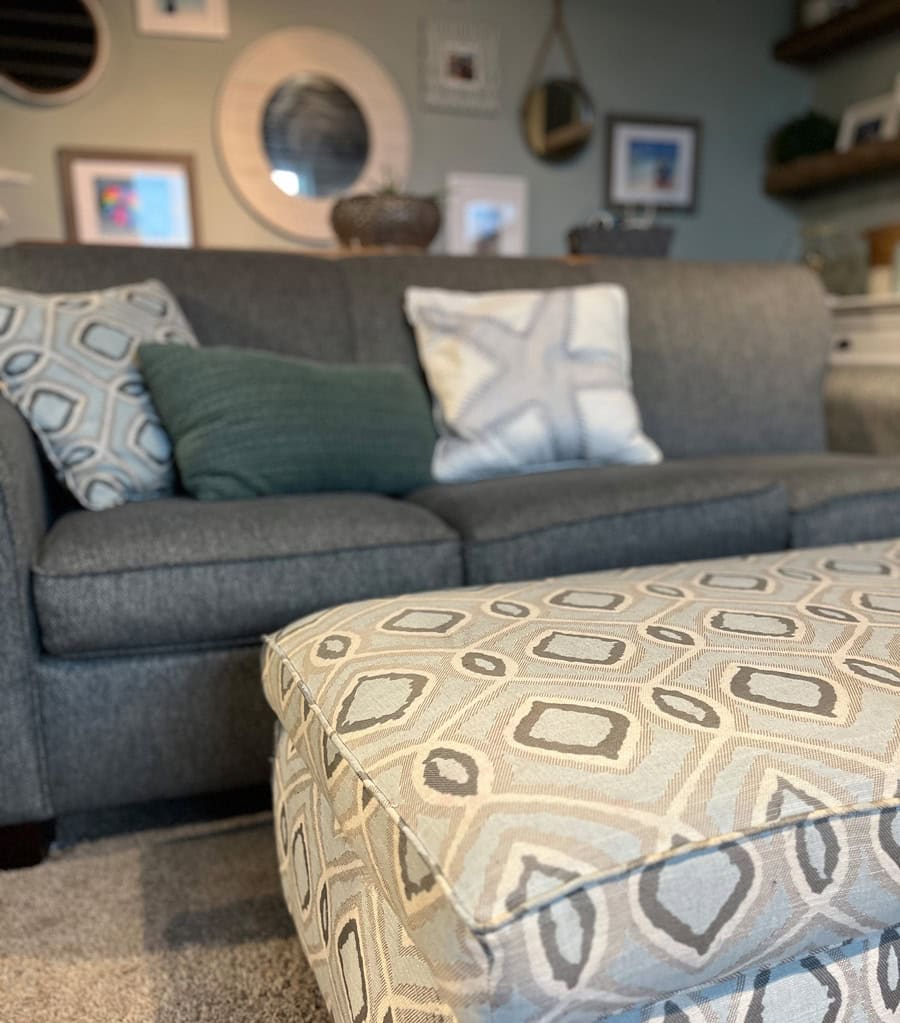
I had extra from my rec room ottoman and pillow project, and it just happened to be more than enough to redo 4 of the stools. (Sometimes DIY luck is on your side!)

If you don’t have fabric scraps, you’ll need about 1 – 1.5 yards per stool to ensure full coverage with enough to wrap around the edges.
💡DIY Hack:
Always keep fabric scraps on hand—you never know when a last-minute project like this will pop up! Leftover fabric is great for quick fixes like seat covers, pillow updates, or even lining small baskets.
For this refresh, I used a soft, coastal-inspired fabric in a mix of blues and grays with a subtle geometric pattern—exactly the kind of look I love. It adds just the right amount of interest without overpowering my home’s calm color palette.

I originally used this fabric for my rec room ottoman and pillows, so pulling it into my kitchen stools made everything feel cohesive.

And here’s the best part—when these stools aren’t in use as party backups, they live in the rec room, neatly tucked under a table behind my couch—in the same space where my coordinating ottoman and pillows reside. It’s one of those small, unplanned design wins where everything just flows together effortlessly.
If you’re refreshing counter stools or other small projects, look for a durable, stain-resistant fabric that not only fits your space but also plays well with other pieces in your home. Little details like this make everything feel more intentional—even when the project itself is totally last-minute!
3. Measure & Cut (aka eyeball it!)
We didn’t break out rulers here—we just laid the seat on the fabric, made sure there was enough to wrap around the edges, and cut.
📌 How much fabric do you need? A general rule of thumb is 1 – 1.5 yards per stool, depending on seat size and how much overhang you want for stapling.
4. Wrap the fabric right over the existing fabric (faux leather in my case)
No time for removing old covers or swapping out foam cushions. If we had more time? Sure. But this was about fast results.
5. Staple it down with a heavy-duty staple gun
This was the real MVP of the project. No sewing, no fuss—just stretching the fabric tight and stapling it securely around the edges.
Love this idea? Keep it handy.
- Start with opposite sides first – Pull the fabric tight over one side and staple it down, then go to the opposite side and do the same, keeping it smooth and snug.
- Fold the corners like wrapping a present – Tuck in excess fabric at the corners neatly before stapling to avoid bulky edges. You don’t need perfection here, just aim for a clean fold!

6. Trim Excess Fabric & Reattach the Seat
If there’s too much overhang underneath, snip away the excess so it doesn’t bunch up when reattaching the seat. We trimmed any extra fabric hanging over the edges, screwed the seat back onto the stool frame, and called it done!
The Final Verdict: A Seating Solution Quick Quick Fix!
This under-an-hour DIY fix made a huge difference and seamlessly tied into the soft, coastal tones that flow throughout my home. The stools went from sad and scruffy to fresh, clean, and totally passable for extra seating.

Would I do this for everyday stools? Maybe not. But for backup seating that gets pulled out a few times a year? Absolutely.
I’m 100% happy with the “less-than-professional” finish because at the end of the day, they’re functional, refreshed, and didn’t cost me a dime. A perfect seating solution for when we entertain!

Quick Takeaways: What You Need to Know Before Trying This
✔️ This is a FAST fix. If you need a last-minute update before guests arrive, this works.
✔️ No sewing required! A staple gun does all the heavy lifting.
✔️ Fabric scraps work wonders. You don’t need to buy new materials—use what you have!
✔️ Don’t overthink it. If it’s just for backup seating, done is better than perfect!
✔️ Removing the seat first makes stapling easier. A screwdriver (or drill) is your best friend.

FAQs: DIY Counter Stool Refresh
1. Do I need to remove the old seat cover first?
Nope! For a fast refresh, you can staple fabric right over the existing seat cover (as long as it’s not too bulky). If you have more time, removing the old cover and replacing the foam will give you a more polished finish.
2. What type of fabric works best?
A medium-weight fabric like canvas, cotton, or upholstery fabric works best. Avoid anything too thin (it may rip) or too thick (it’s harder to staple).
For the best results, go for durable, stain-resistant, and easy-to-clean fabric—especially for stools used in a kitchen. You don’t want anything that will pull or snag from jean grommets, buttons, or heavy use. Think performance fabrics, outdoor fabric, or tightly woven upholstery material.
For a cohesive look, pick fabrics in tones that reflect your home’s style—whether it’s bold and modern or soft and coastal, like the blues and grays I adore.
3. How long will this last?
For backup seating, this fix can last years! If you use them daily, the fabric might wear out faster, but you can always do another refresh later.
4. Can I do this for everyday stools?
Yes, but if these are daily-use counter stools, consider adding extra padding or using stronger upholstery fabric for durability.
This little project was all about speed and function, not perfection. If you’re looking for a fast, budget-friendly refresh for backup seating, this DIY works great! But for high-use everyday furniture, or investment pieces, I always recommend calling in the pros.
For my local friends, my go-to for expert upholstery work is Kreative Knotts. (In fact, they’re the ones who reupholstered my ottoman, pillows, and those turquoise barstools you see in the pics!) I love collaborating with them on projects that need a little extra craftsmanship.


Final Thoughts: Would You Try This DIY Seating Solution?
If you ever find yourself scrambling for a last-minute seating solution, this is a super quick, budget-friendly fix that works in a pinch!
Have you ever tackled a fast DIY furniture refresh before hosting? I’d love to hear about it! Drop a comment or hit reply and share your best quick-fix projects!
More Easy Styling Ideas for Your Home
Love quick, budget-friendly refreshes? Here are a couple of other ideas you might like:
🌟 How to Style Your Coffee Table Effortlessly – Simple tips to make your coffee table look curated without overthinking it.
✨ Coastal Entryway Bench Styling – A foolproof way to pull together an inviting entryway with natural textures.
💫 30 Easy Room Transformations to Try – These small, intentional swaps can completely refresh the look and feel of your home—no renovation, no big budget, and no overthinking required!